Although I'd like this to be a tutorial that could teach people how to knit, it is not. Learning to knit for the first time requires a grandmother, sister, mom, dad or in-person class. But if you already know some basics, like how to knit and how to purl, this is for you.
Read through the directions entirely first. If you are a beginner, I am hoping after you make this hat you will have added a few knitting skills.
Also, I can't take credit for the design of this hat. I have merely miniaturized the popular design by Kat Coyle on Ravelry. You can read a bit about her design here.
What you'll need:
A small skein of worsted weight yarn, I used Malabrigo Worsted in Cactus flower, but there are many great worsted yarns, such as Cascade 220
- Knitting needles, I used size 5, but more on that later.
- A yarn darning needle, such as a chibi darning needle
A Bit about Gauge
Before following a knitting pattern it is important to make sure you are knitting at the correct gauge. Gauge is how many stitches you are knitting per inch. Changing your needle size will change the gauge. If you are knitting a sweater you would knit a sample swatch before and see if you are knitting the correct number of stitches per inch. But this little hat is the size of a swatch, so I think you can figure it out as you go along. Without a gauge check you can be knitting in the same size needles and yarn as me but your hat could come out larger or smaller, depending on whether you knit tighter or looser than me. My gauge was 5 stitches to an inch when knitting stockinette stitch (knit 1 row, purl 1 row).
If you are knitting for ExtraSmall Phoebe your hat will be approximately 4.5 inches wide per side and 5.25 inches before folded in half and sewn. Regular sized Phoebe's hat is 6.5 inches wide and 8 inches before being folded.
Casting On
For ExtraSmall Phoebe's hat cast on 26 stitches. For Regular Phoebe cast on 42. I sue a long tail cast on because it is very stretchy. Very Pink does wonderful YouTube knitting tutorials and her Long Tail Cast on is no exception. It makes it so easy, you will always use it. And since it is such a sturdy stretchy cast on, why not?
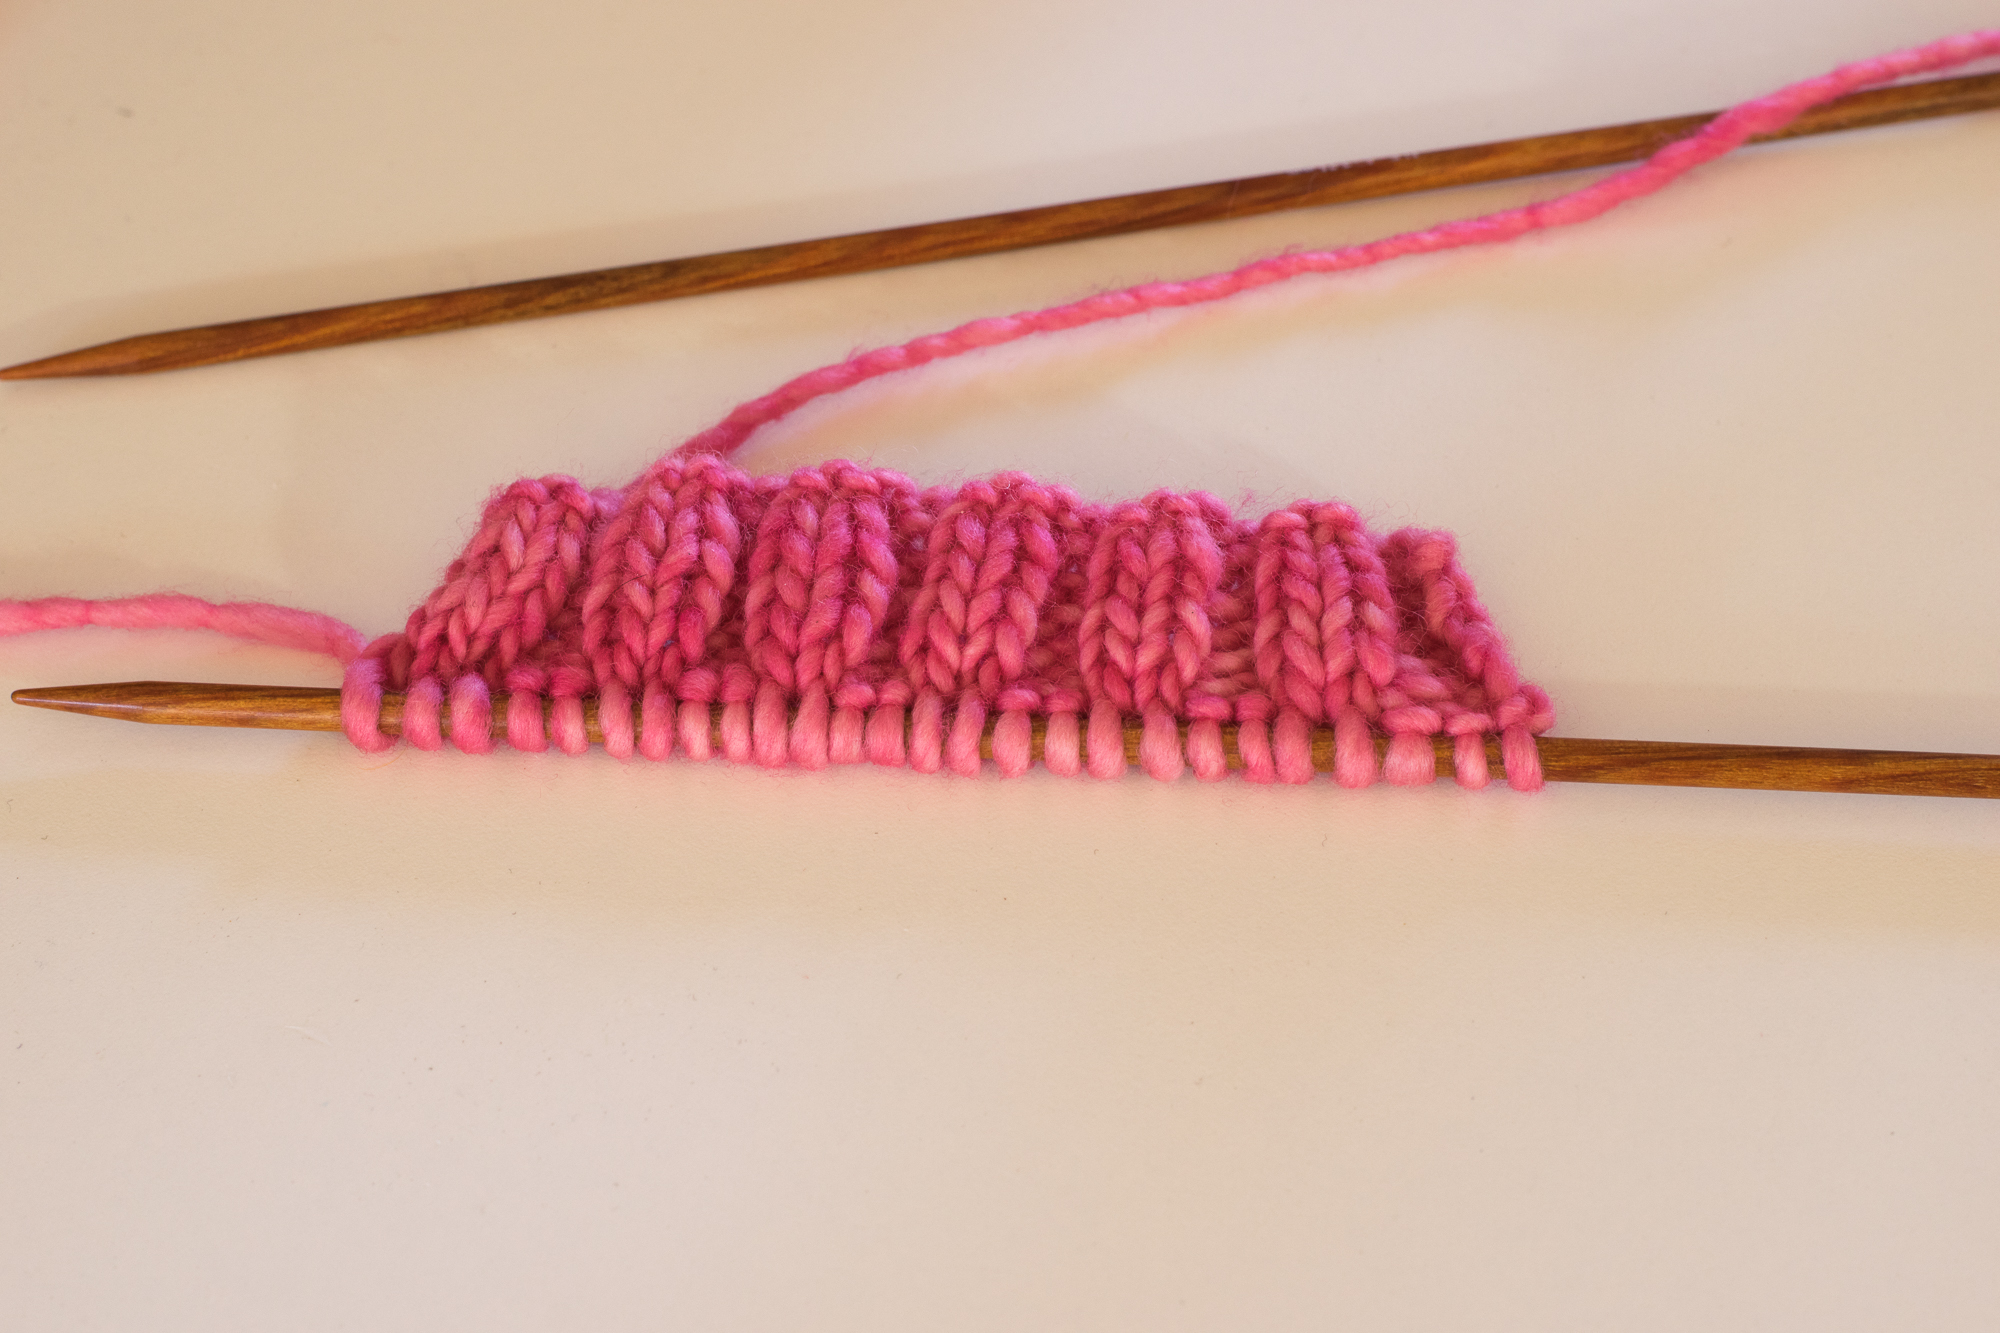
I have left a tail of about 5-7 inches after casting on (see photo below). I will use this to sew up this side of the hat.
Next is the ribbing.:
For ExtraSmall Phoebe:
Knit3, Purl 2, knit 2 until the last three stitches, purl 3. For six rows.
For Regular Phoebe:
Knit3, Purl 2, knit 2 until the last three stitches, purl 3. For ten rows.
This differs a little bit from basic ribbing (k2,p2) because I've allowed included an extra stitch on each side for the seam.
Ribbing
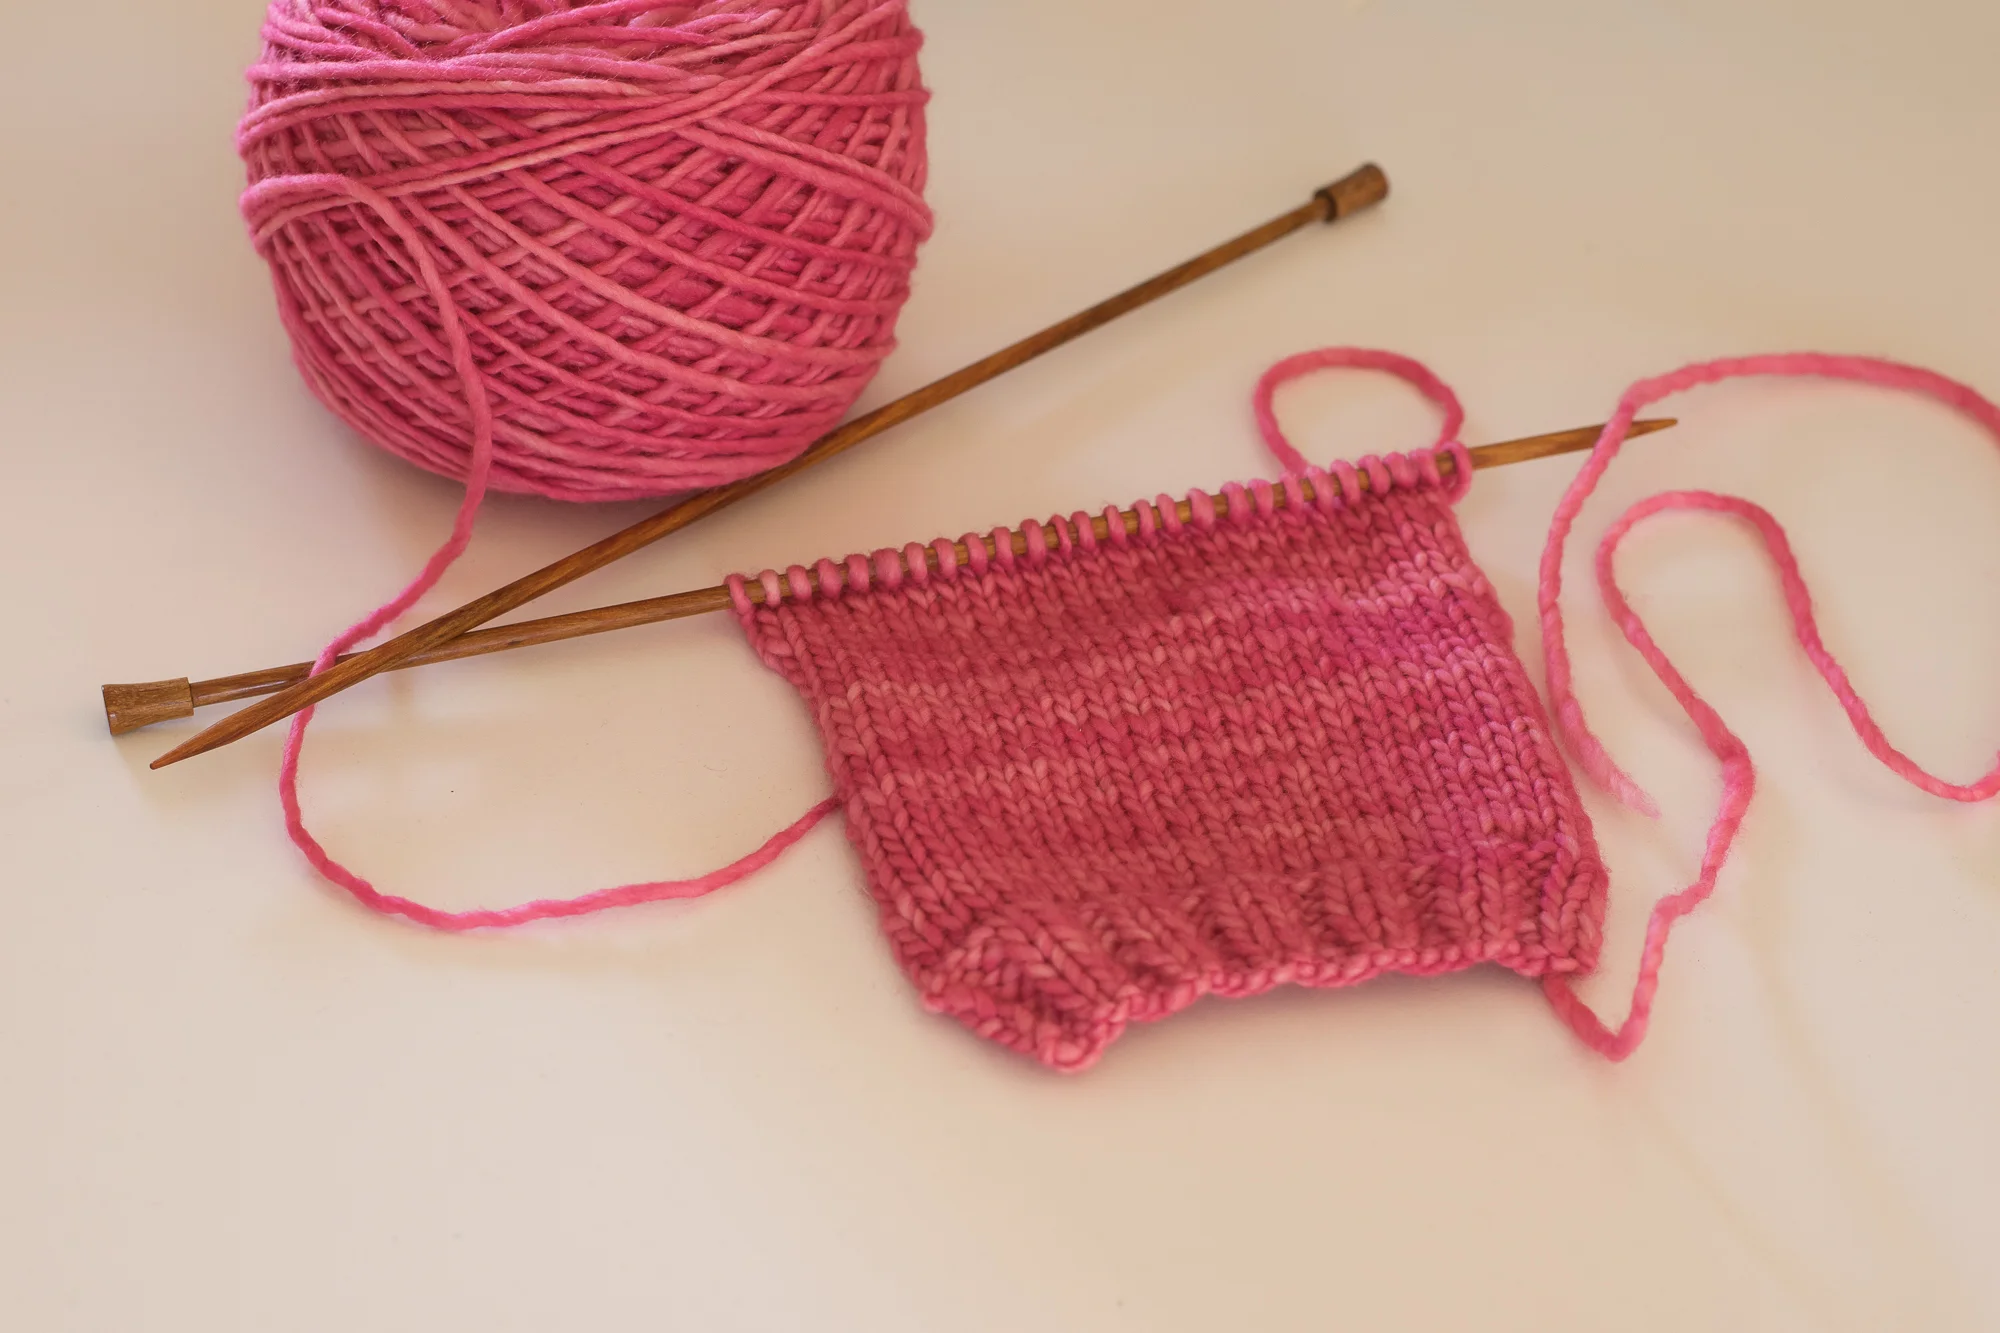
Now you switch to stockinette stitch. Stockinette stitch is knit one row and purl one row. It creates the smooth surface that is the top half of the hat.
Start with a knit row. Second row will be purl.
For ExtraSmall Phoebe knit stockinette stitch for 3.75 inches (excluding the ribbibng).
For Regular Phoebe knit 4.5 inches of stockinette.
Body of the hat
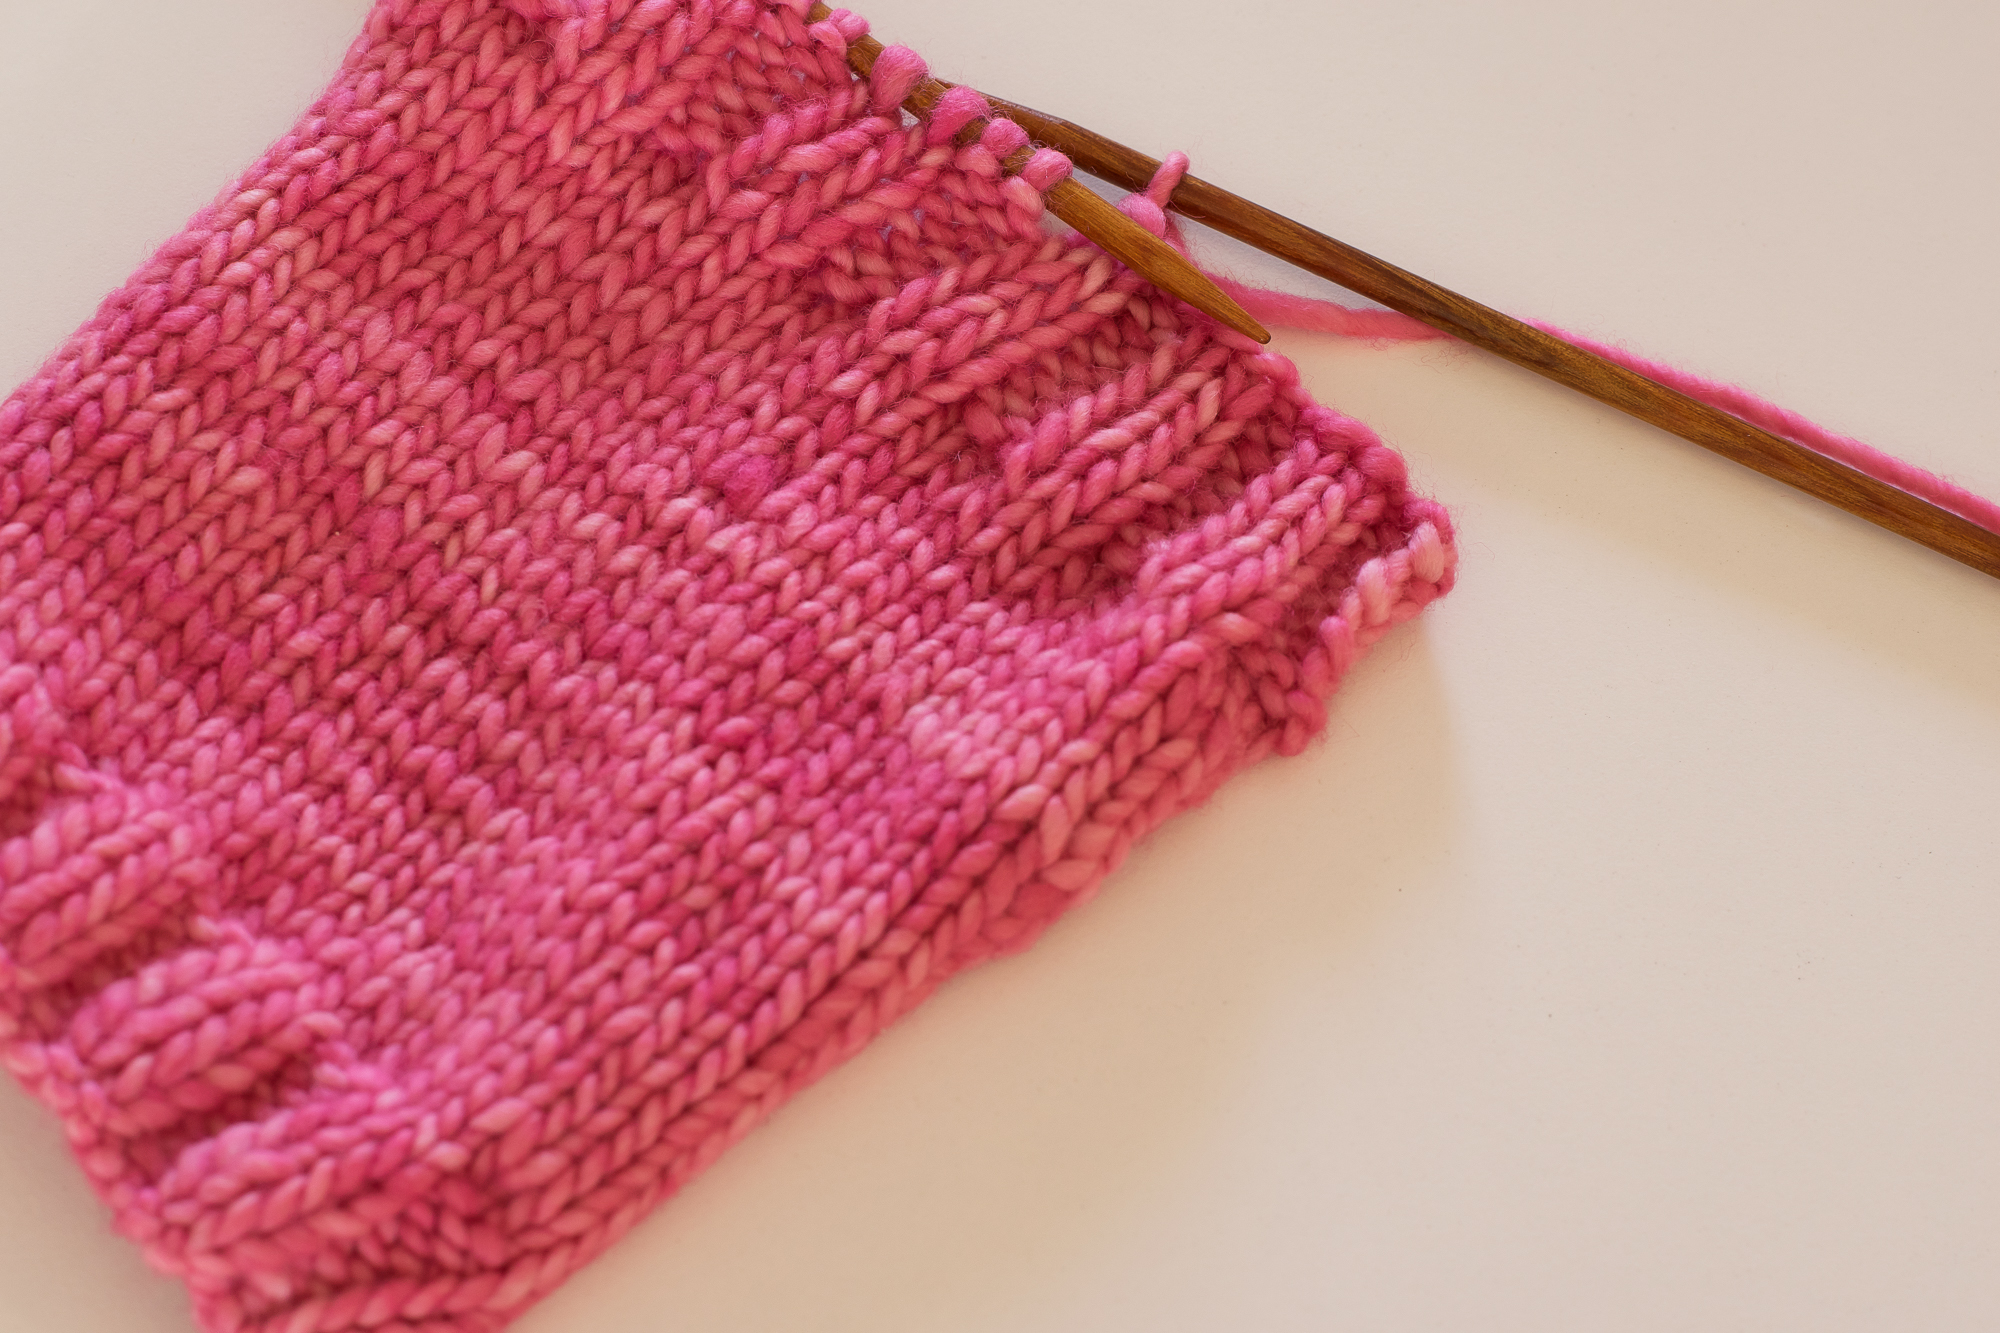
Now for the second bit of ribbing. It is important to start this on what would be a knit row. If you do this your tail after casting off will be on the opposite side of the first one and you can use it for sewing up the other side.
For ExtraSmall Phoebe:
Purl3, knit 2, purl 2 until the last three stitches, knit 3. For six rows.
For Regular Phoebe:
Purl3, knit 2, purl 2 until the last three stitches, knit 3. For ten rows.
Time to bind off. Again, if you are uncertain about binding off, again, I will refer you to my favorite knitting teacher Very Pink.
I bind off in pattern, which means I continue the ribbing pattern as I am binding off.
Seaming
Each hat gets folded in half (wrong sides together) and the side seams are sewn up by mattress stitch. Although there a better ways to learn mattress stitch than from me (Very Pink again), I will offer one trick I use for keeping a seam straight and even.
I use a bit of smooth cotton yarn out of a contrasting color. You want cotton because this will be a used s a guide, but you will want to pull the cotton yarn put afterwards and smooth cotton pulls out easier, because it doesn't have the grit or scales that wool does.
When you are seaming in mattress stitch you are essentially weaving through the "bar" stitch, which is between two stitches, on each side of the two pieces you are seaming together. It sometimes gets tricky to stay between the same two stitches as you move up the seam.
I thread a piece of white cotton yarn through these bars ahead of time, so I can see the gulley I am following up better. See photos below.
Folded hat ready for seaming, remember wrong sides together
Remember when seaming with mattress stitch, it is wrong sides together.The just use the tails already hanging off your hat to seam up each side.
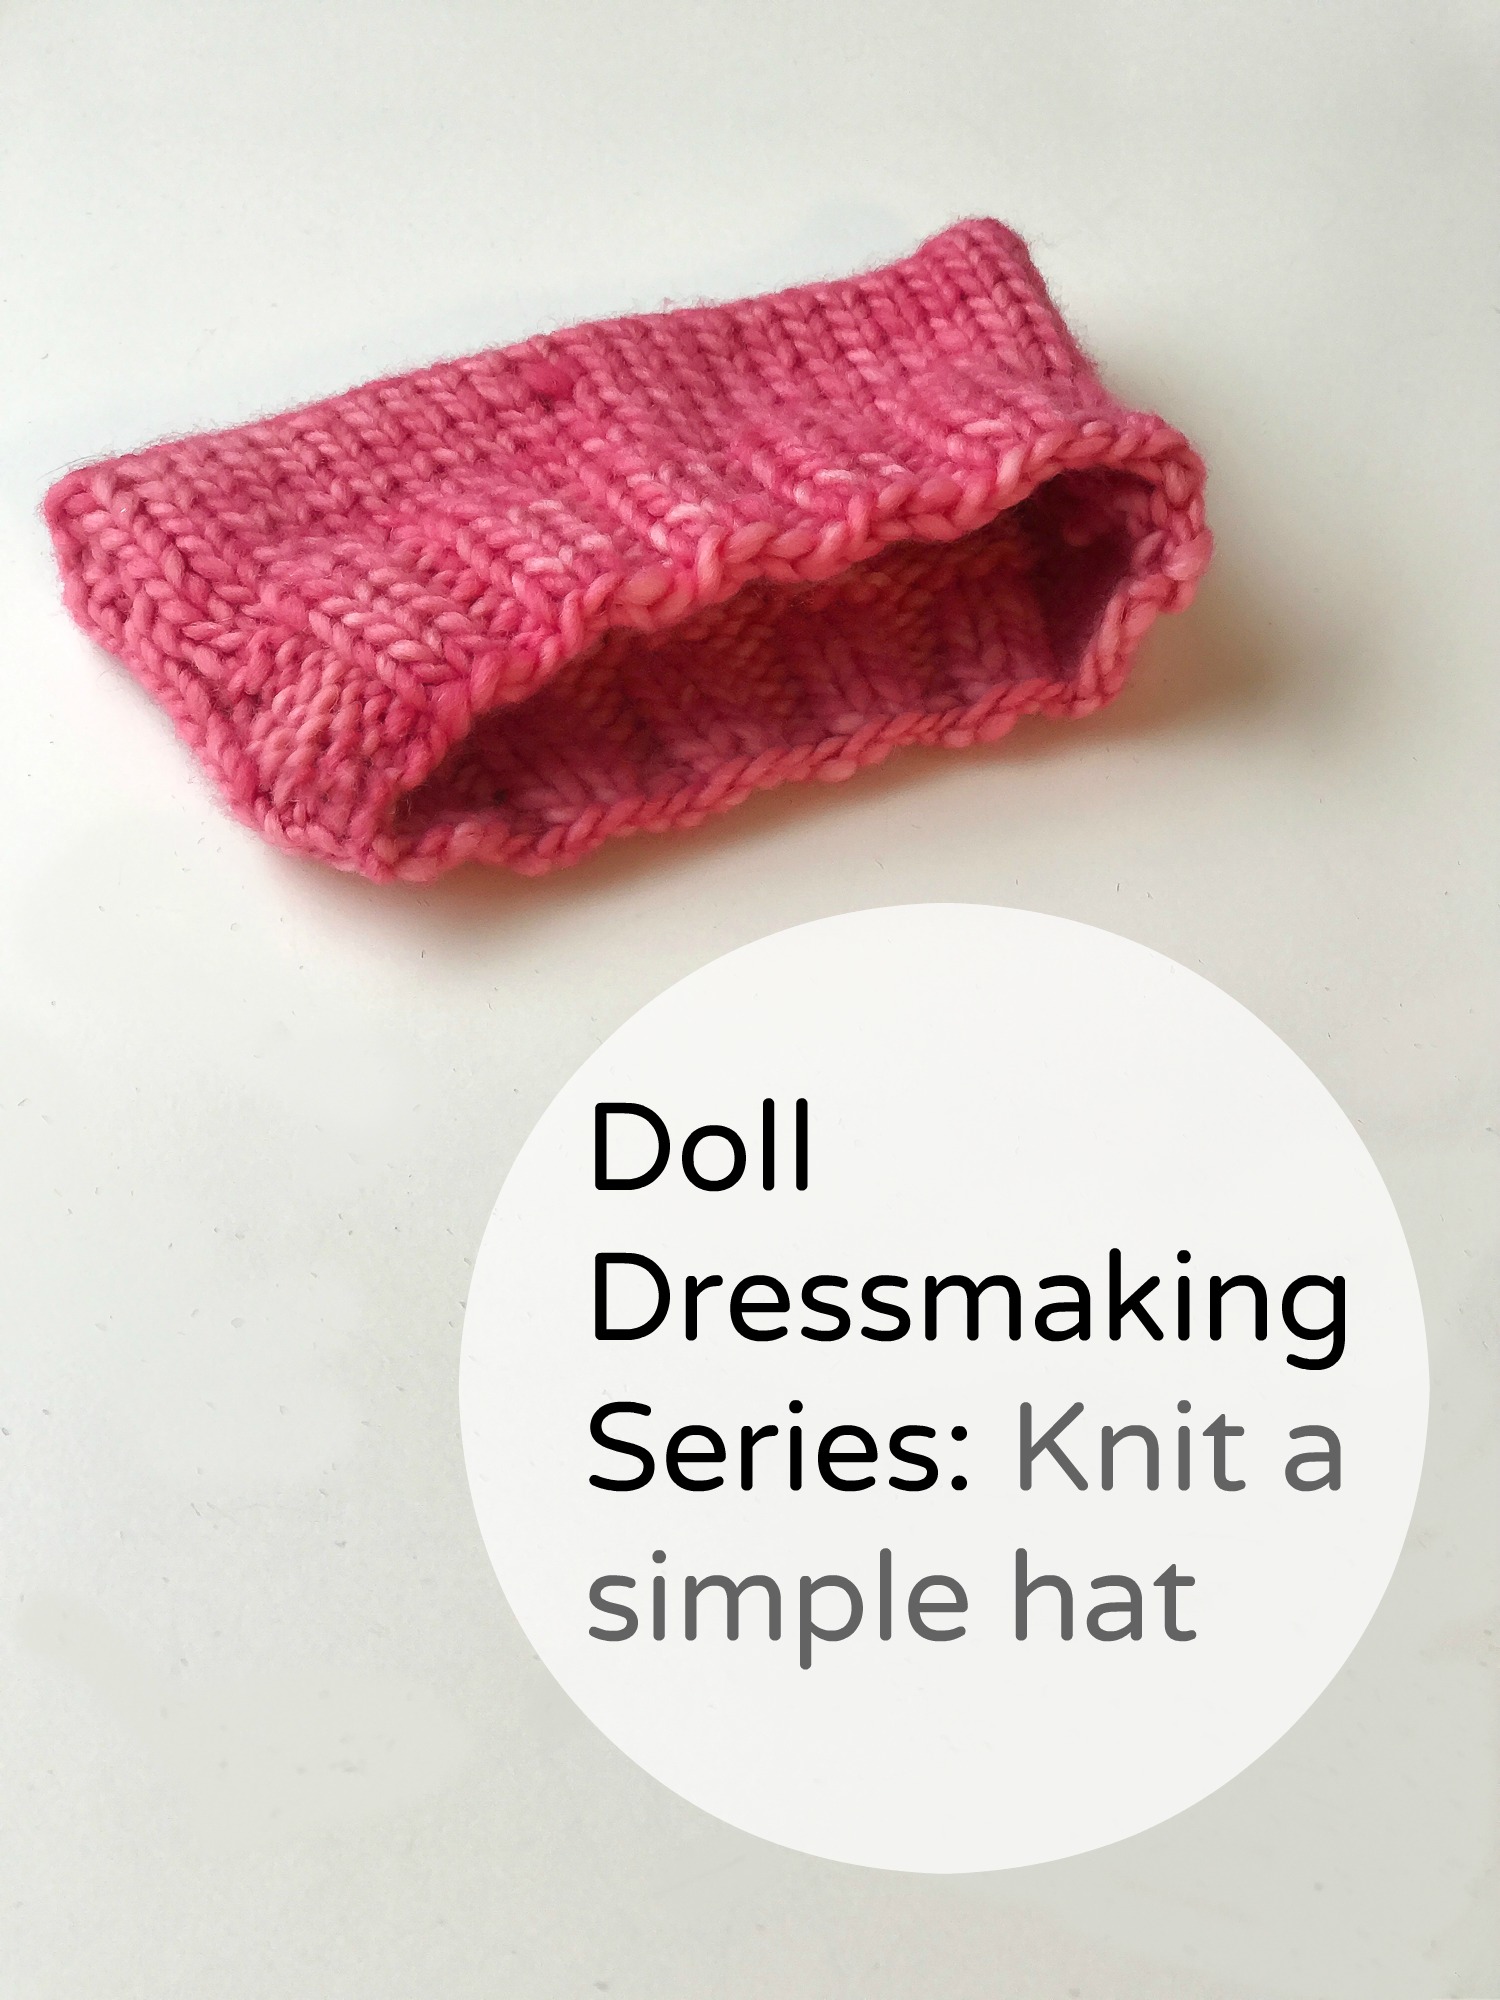
Your doll has a hat. In later posts, i'll show you how this pattern can be switched up a bit. It is a fun pattern to tweak.
