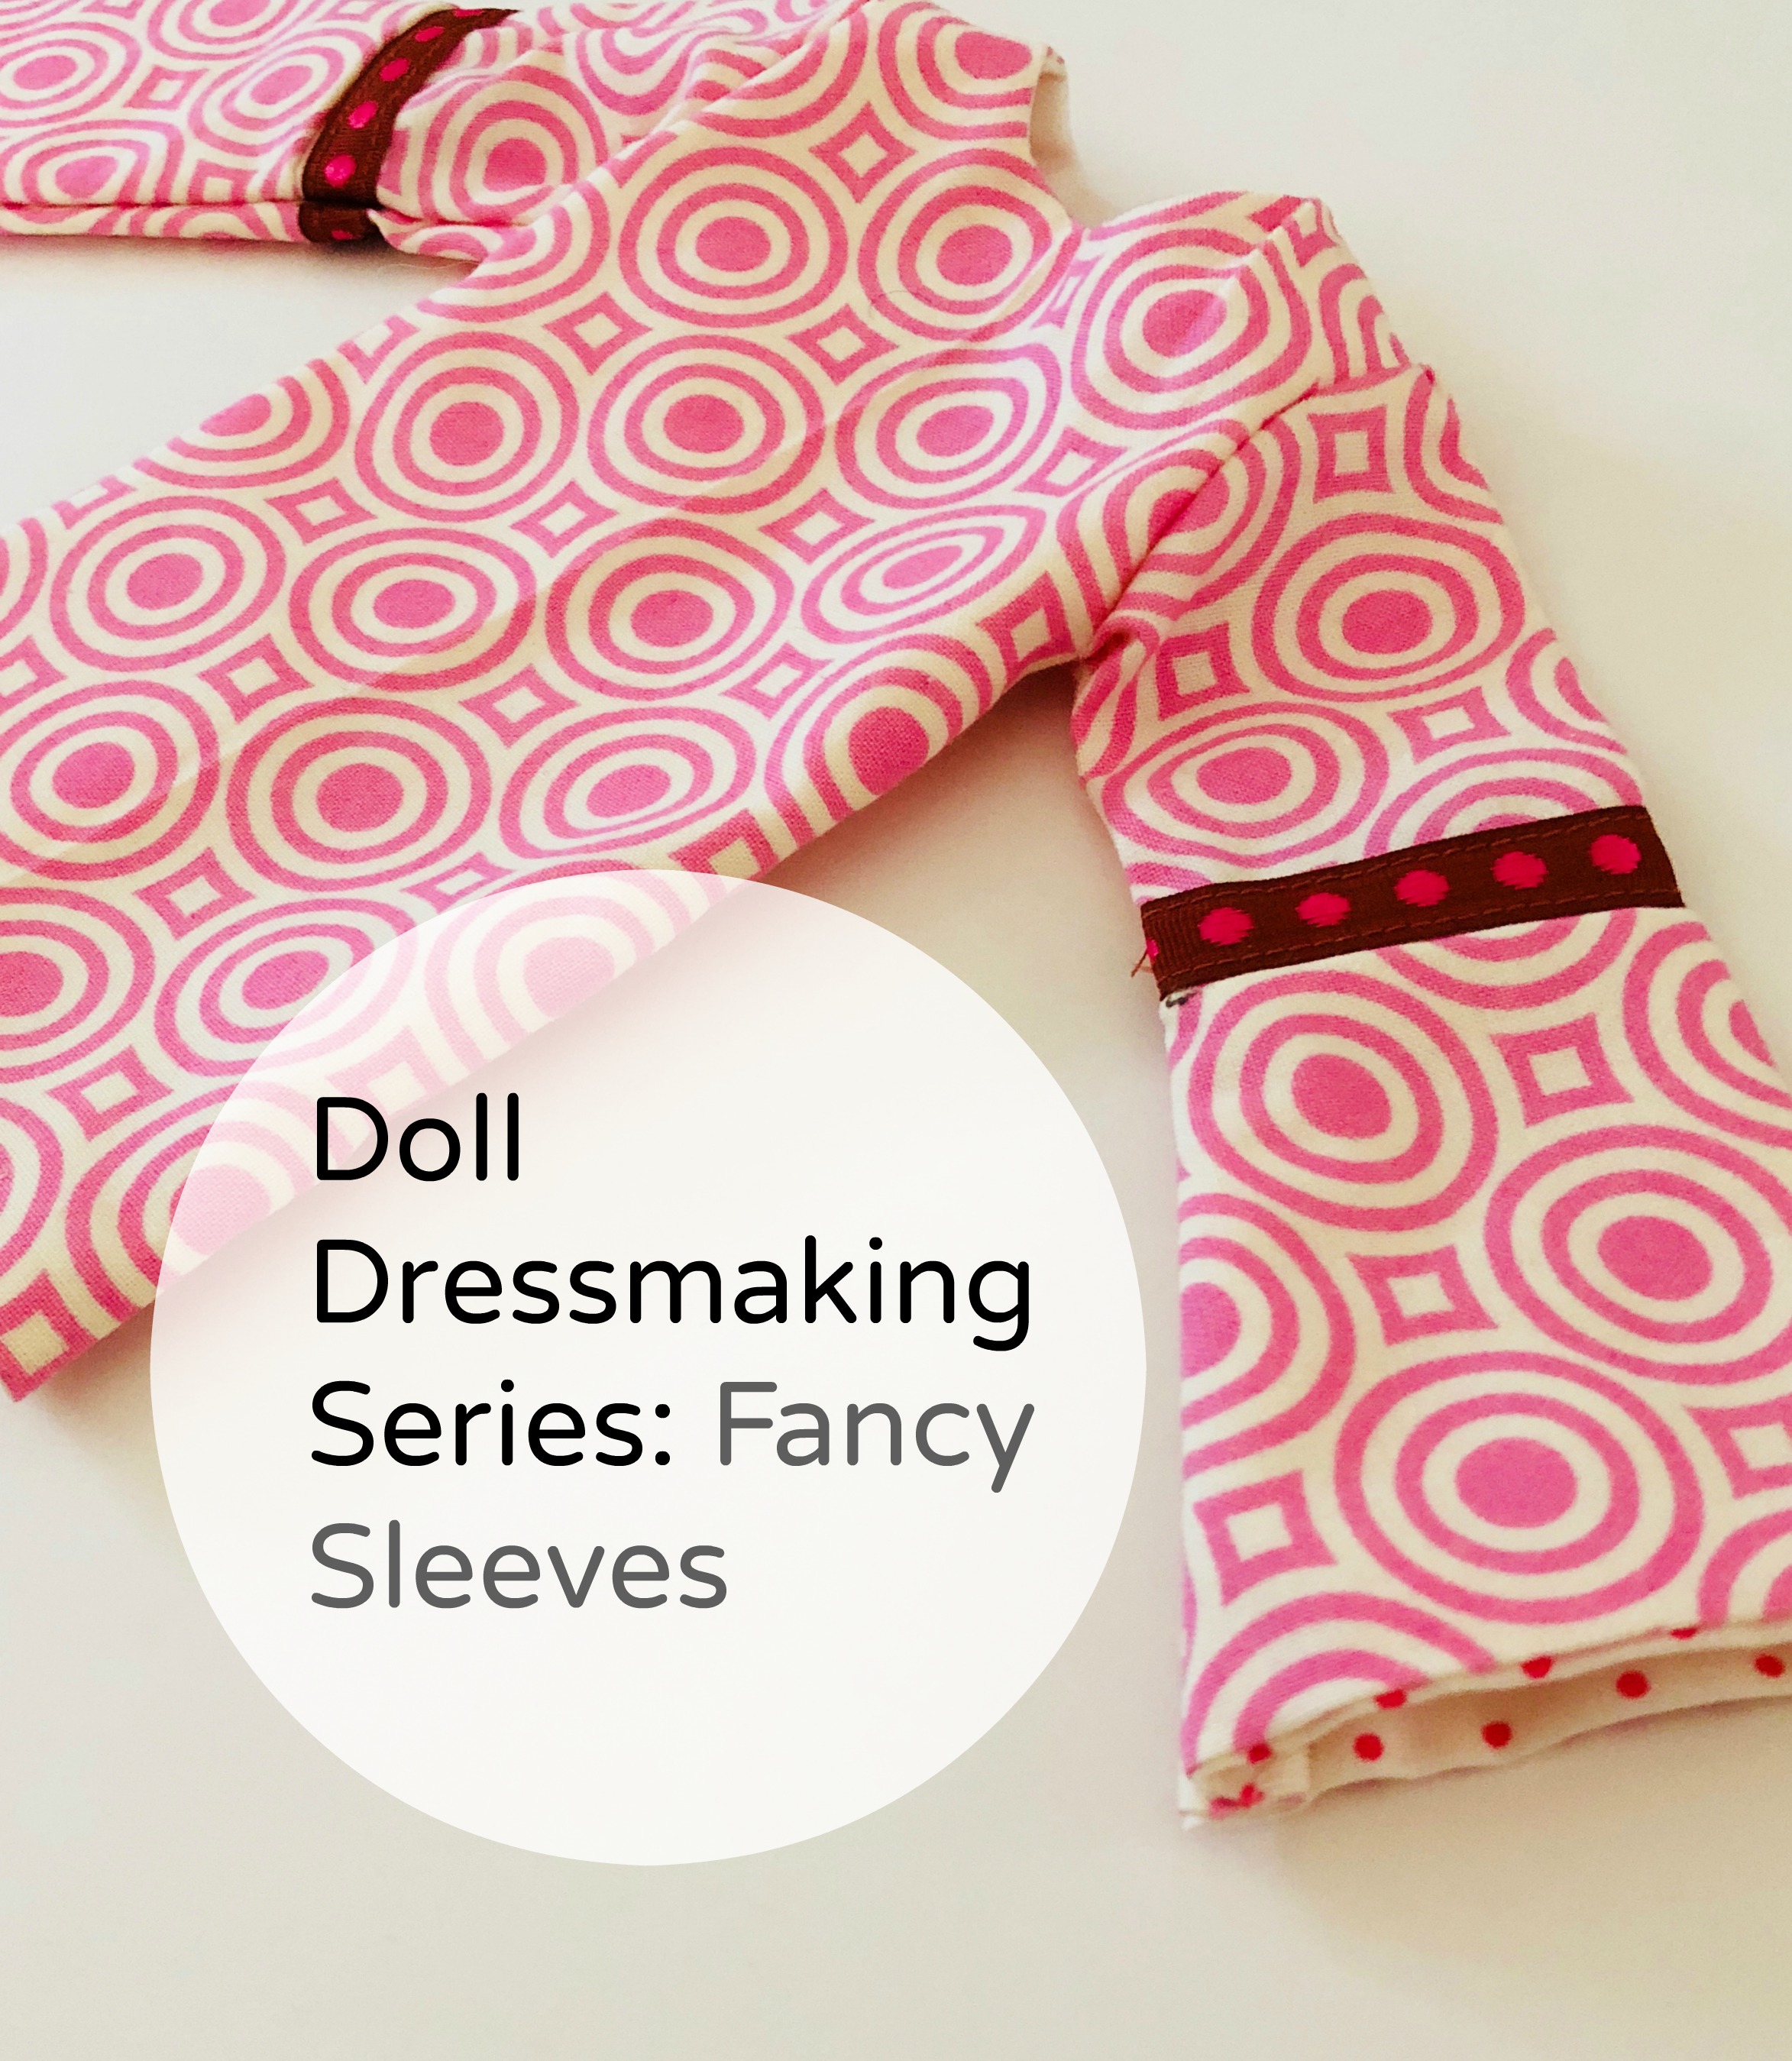
"Fancy" sleeves can give a doll dress 70s retro look, or even a medieval look. You can make the bottom of the sleeves wider for a more extreme look. I lined my sleeves, but the bottom can be unlined or edged in trim. Have fun
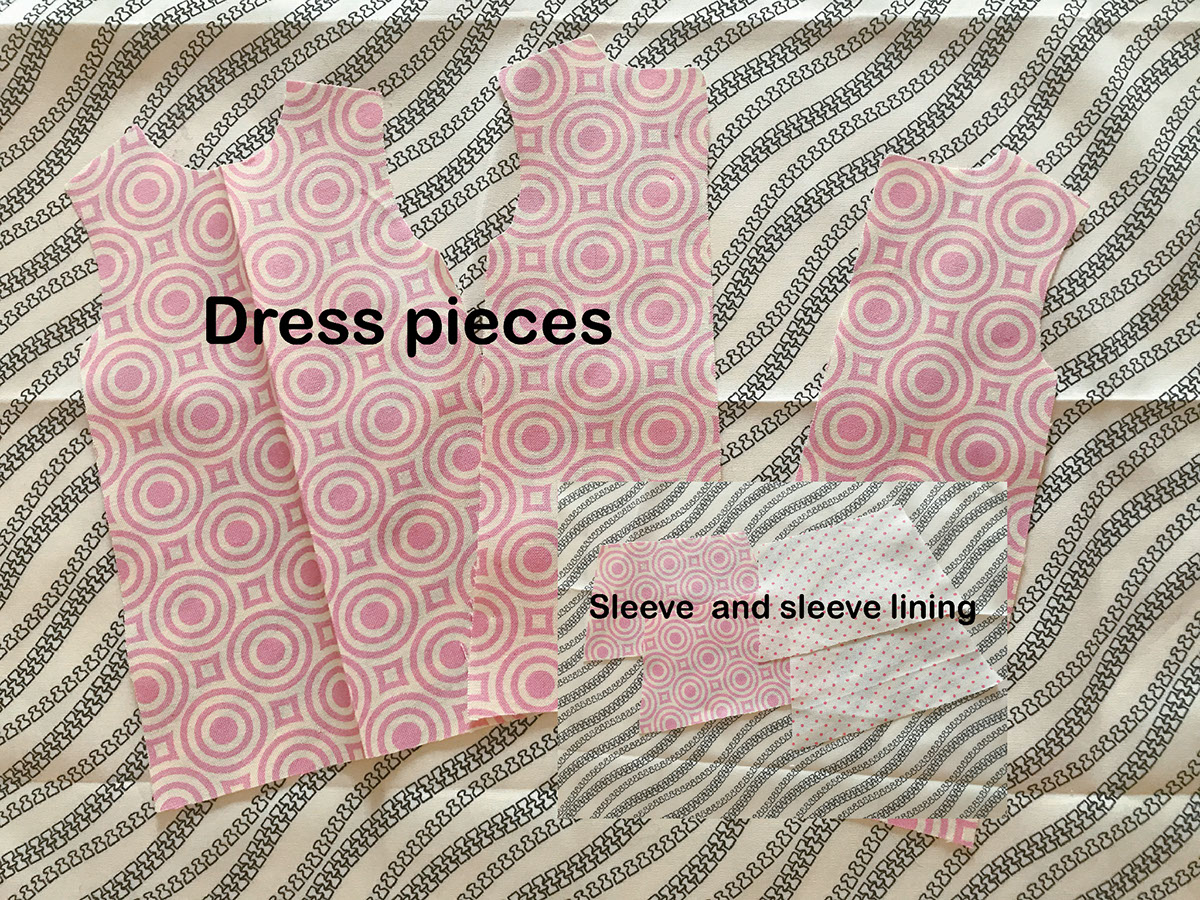
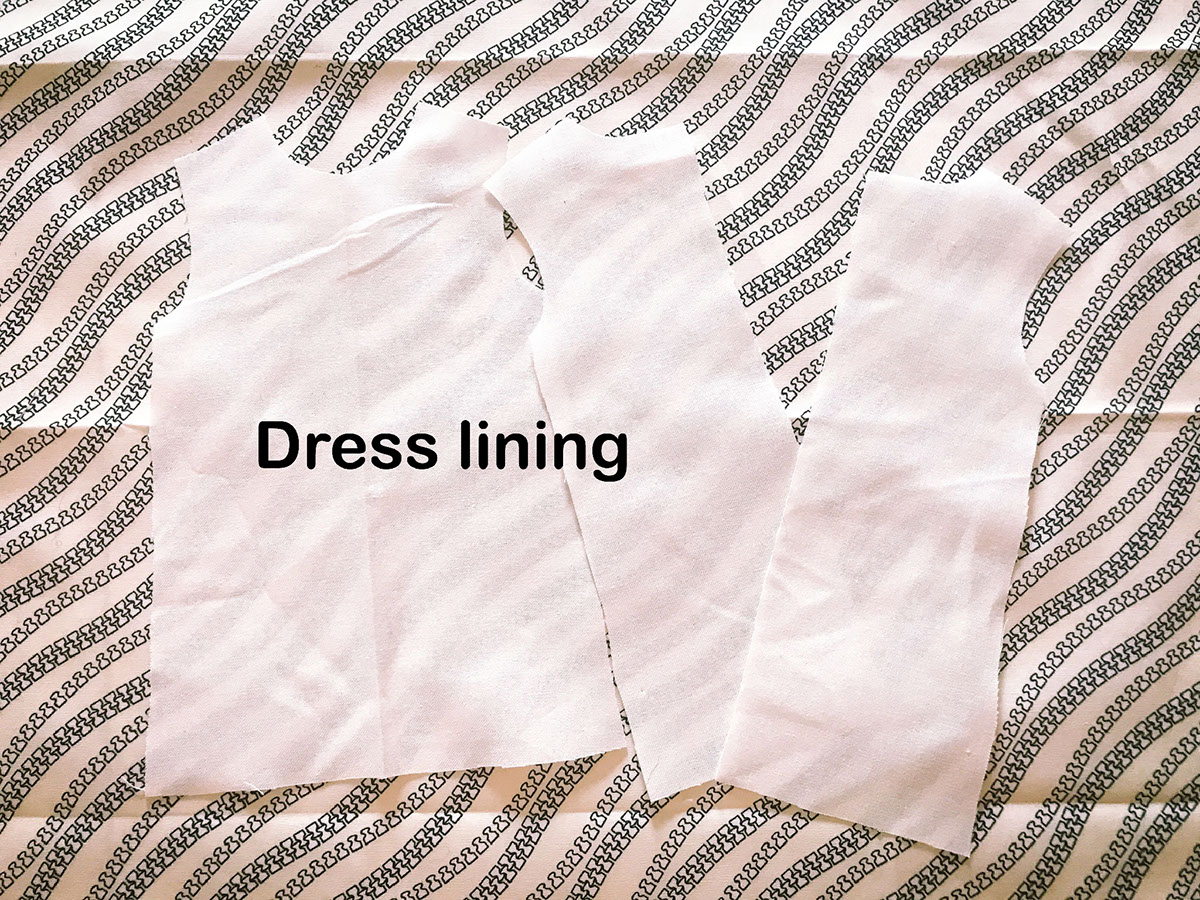
Cut out pieces for the dress, sleeve, lining, and dress lining.
Cut out dress pieces, should be 7 excluding lining
And lining pieces, should be 3
Sew together shoulder seams of dress and lining as shown below.
Place lining and dress together with right sides together, pin or wonder clip. Sew one long seam beginning at the bottom of the center back`around neck and back down the other side of the center back.
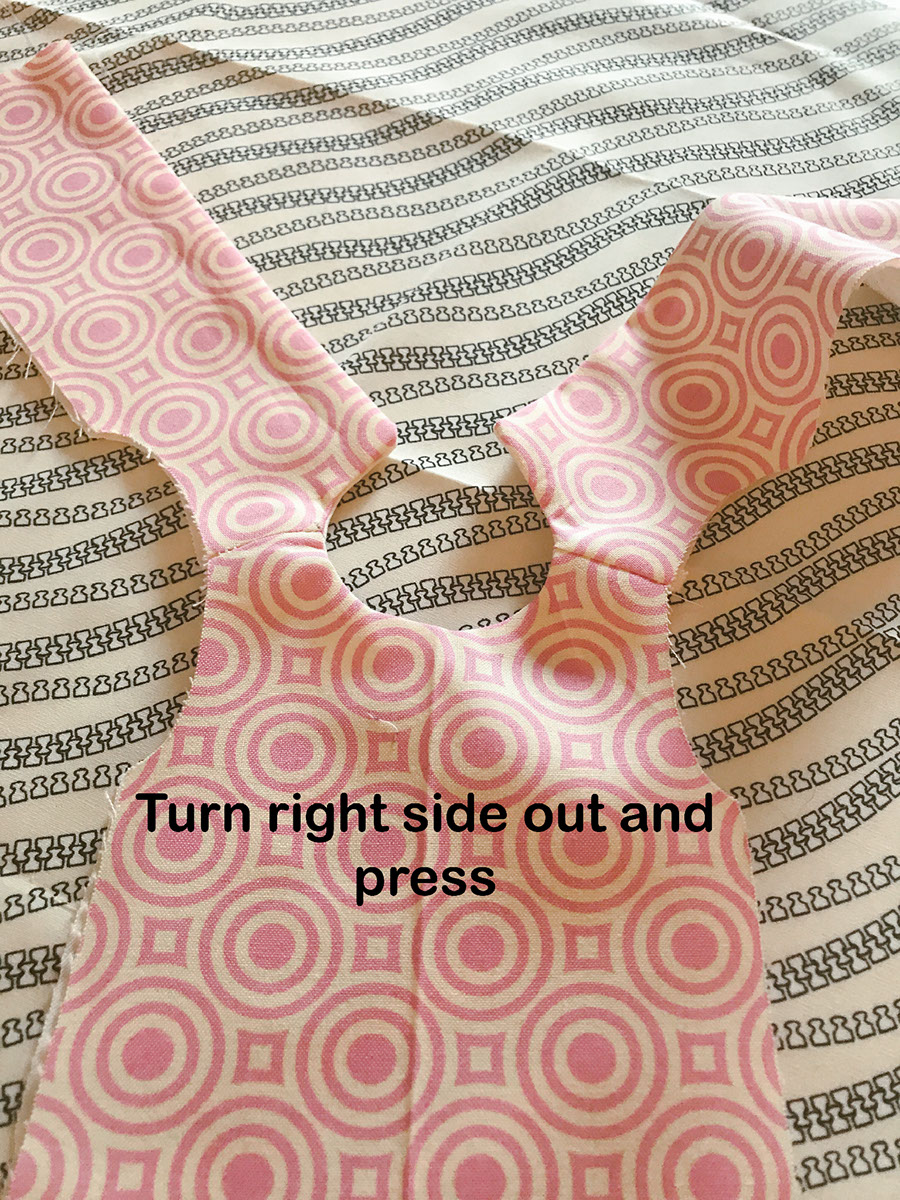
Turn right sides out and press.
Stitch along each armhole making sure you are stitching through both the dress fabric and the lining fabric. This is to baste the two fabrics together so they stay together when sewing the sleeves in.
Place the sleeve bottom and the corresponding lining pieces together (right sides together) and stitch. Then turm right sides out and press.
Stitch sleeve bottom to sleeve top as shown below and press. If you are using trim stitch it on at this stage just above the seam.
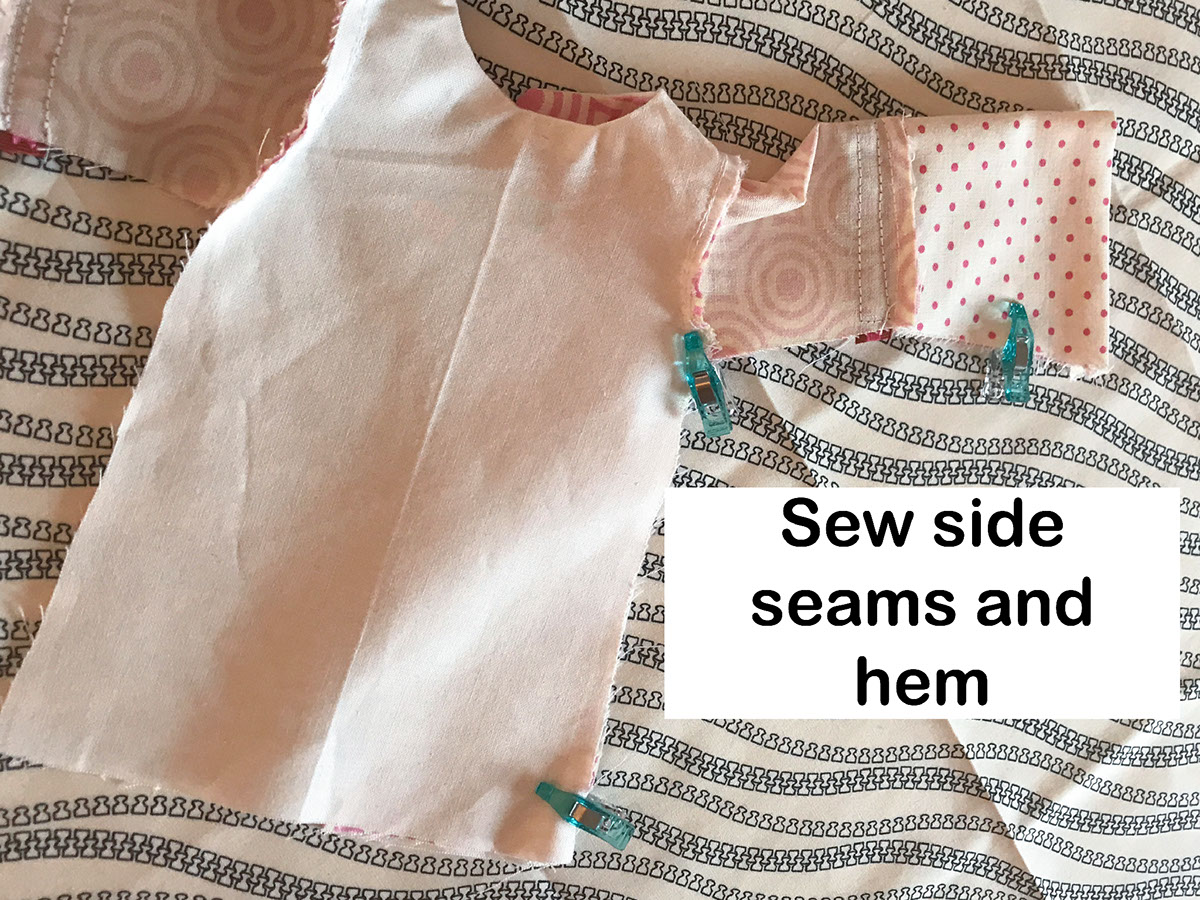
Pin sleeves to armholes. You could do a slight gather with one row of stitching. This is called an ease. Or you can just make a tiny tuck at the top as you are sewing (see my tuck above the arrow). Sew side seams, hem, add snaps or velcro and you are done.
Below is an example of "fancy Sleeves" used for a medieval look. The pattern pieces for this sleeve will be available in my newsletter which may even be done tonight.

