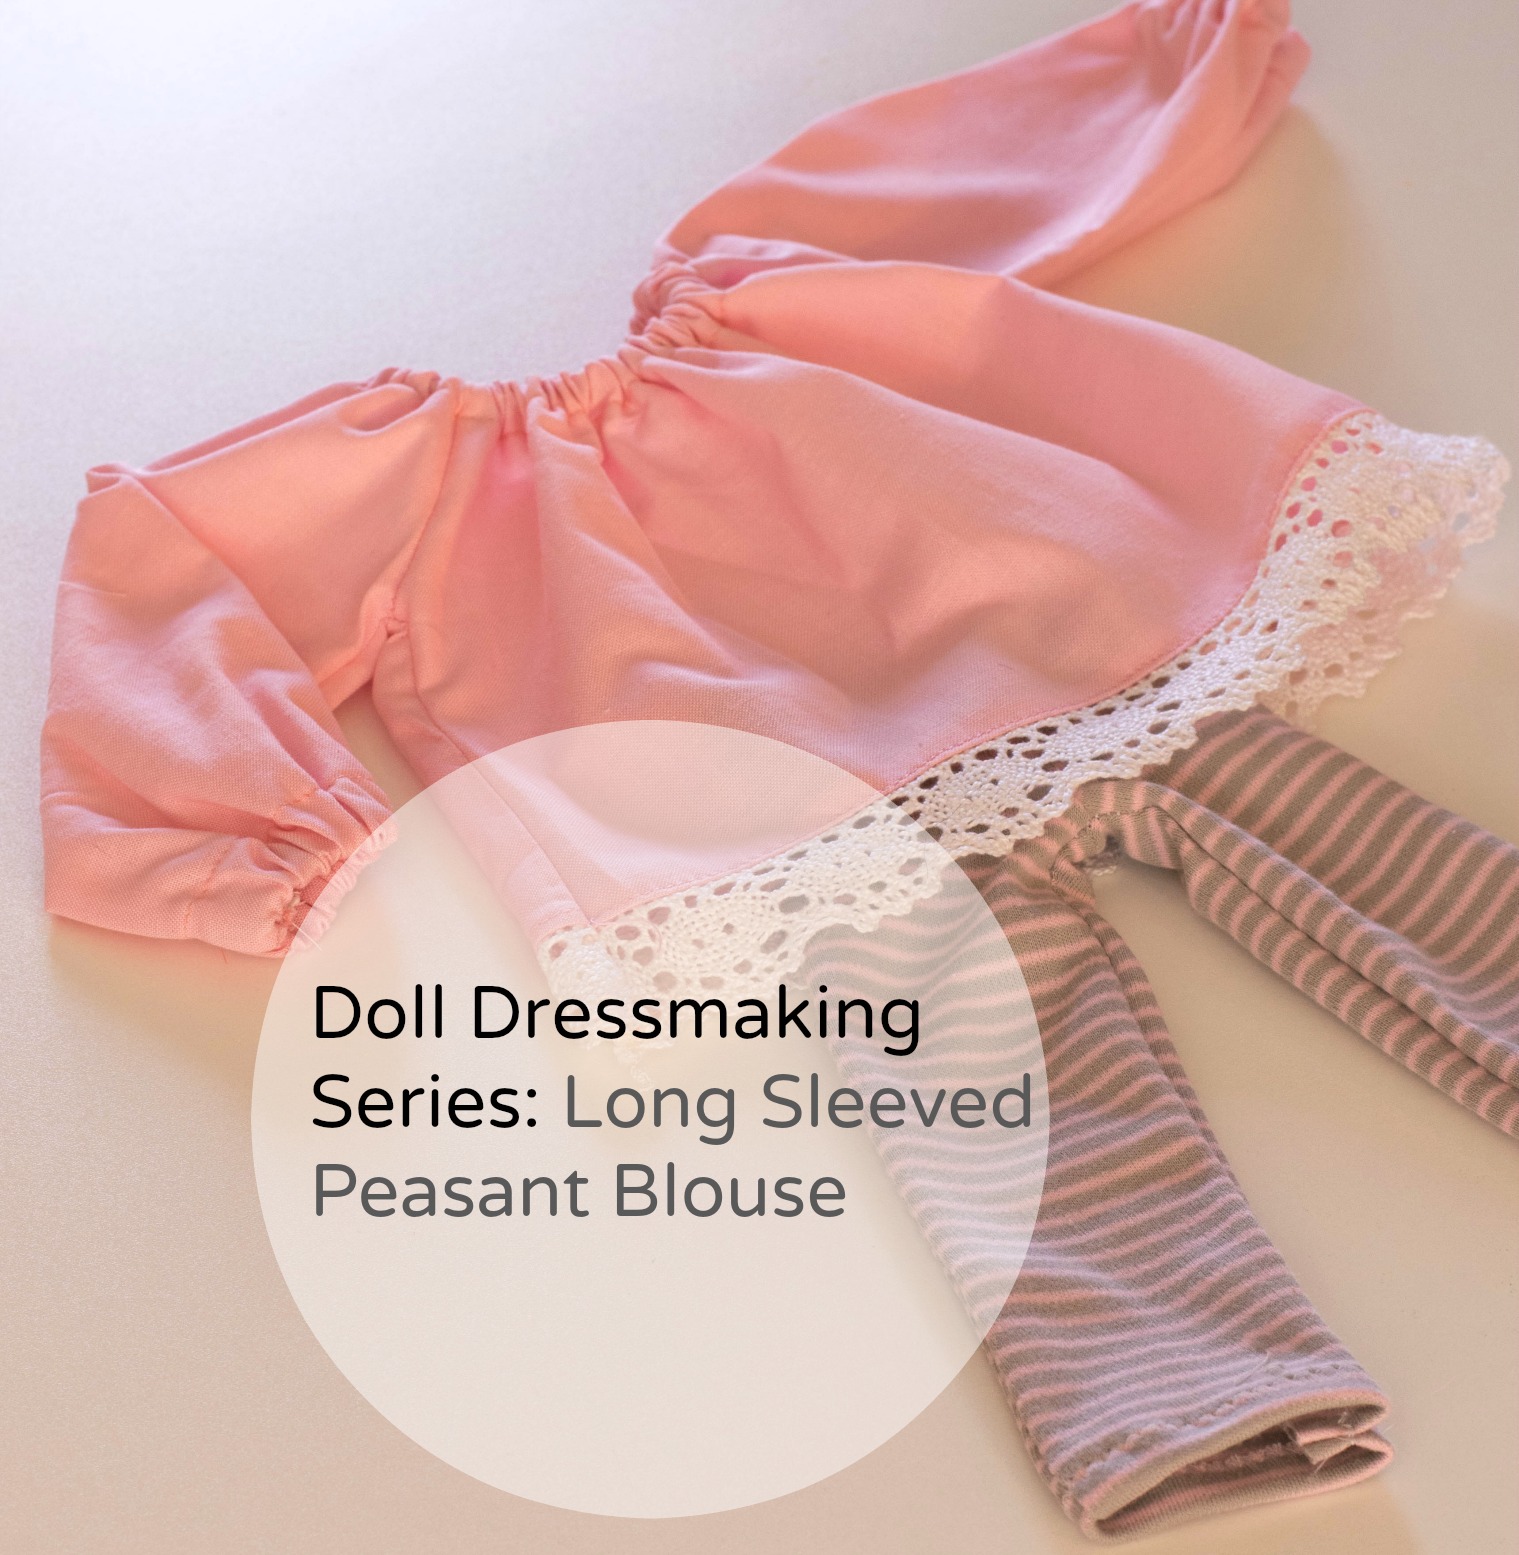
First apologies for the scant amount of blogging these last two months. I've been focusing on the ExtraSmalls and a number of custom orders and kind of neglected the blog and doll dressmaking. But I'm back. And I'm getting back to sleeves, which is where I left off.
My last tutorial was for long sleeves for the dresses. This tutorial is for long sleeves for the raglan peasant blouse (or dress). The short sleeve tutorial for the blouse is here. And the dress is here.
I am not going to repeat all of the instructions. Just skim over the making of the peasant blouse as discussed in the original tutorial, but with long sleeves.
And of course the long sleeve pattern will be in the upcoming newsletter.
Cut out your pattern pieces, front and back (both the same) and the two sleeves.
Click to enlarge
Sew three of the four "shoulder" seams. Make sure you are attaching a sleeve to a body and a body edge to a sleeve.
click to enlarge
On the bottom of each sleeve, fold under (to the wrong side of the fabric) 5/8 of an inch, press and stitch. This is the sleeve casing, meaning you will guide elastic through here.
click to enlrge
Do the same along the neck edge for the neck casing and elastic.
Click to enlarge
Run elastic through the neck casing and then each of the sleeve casings. Directions for elastic and casings are here in the original tutorial. Finished wrist lengths (with the elastic) should measure as follows:
Phoebe: 3.5 inches, Sasha Dolls, 3 inches, American Girl and Waldorf: 4 inches. Neck length for Phoebe: 8.5 inches, Sasha 8 inches and AG and Waldorf 9-9.5 inches. Neck length is a bit of personal preference depending on how you like the neckline.
Stitch up the remaining "shoulder seam.
Stitch up only one of the two side seams. Leaving one open makes it easier to add a trim on the bottom if one side is still open.
Click to enlarge
Stitch trim onto bottom edge right sides together. Fold under and stitch down.
Stitch the other side seam and you are down. Make the body a few inches longer and you have a dress.
Phoebe is a bit camera shy in this photo, but you can see the sleeve at least : )


