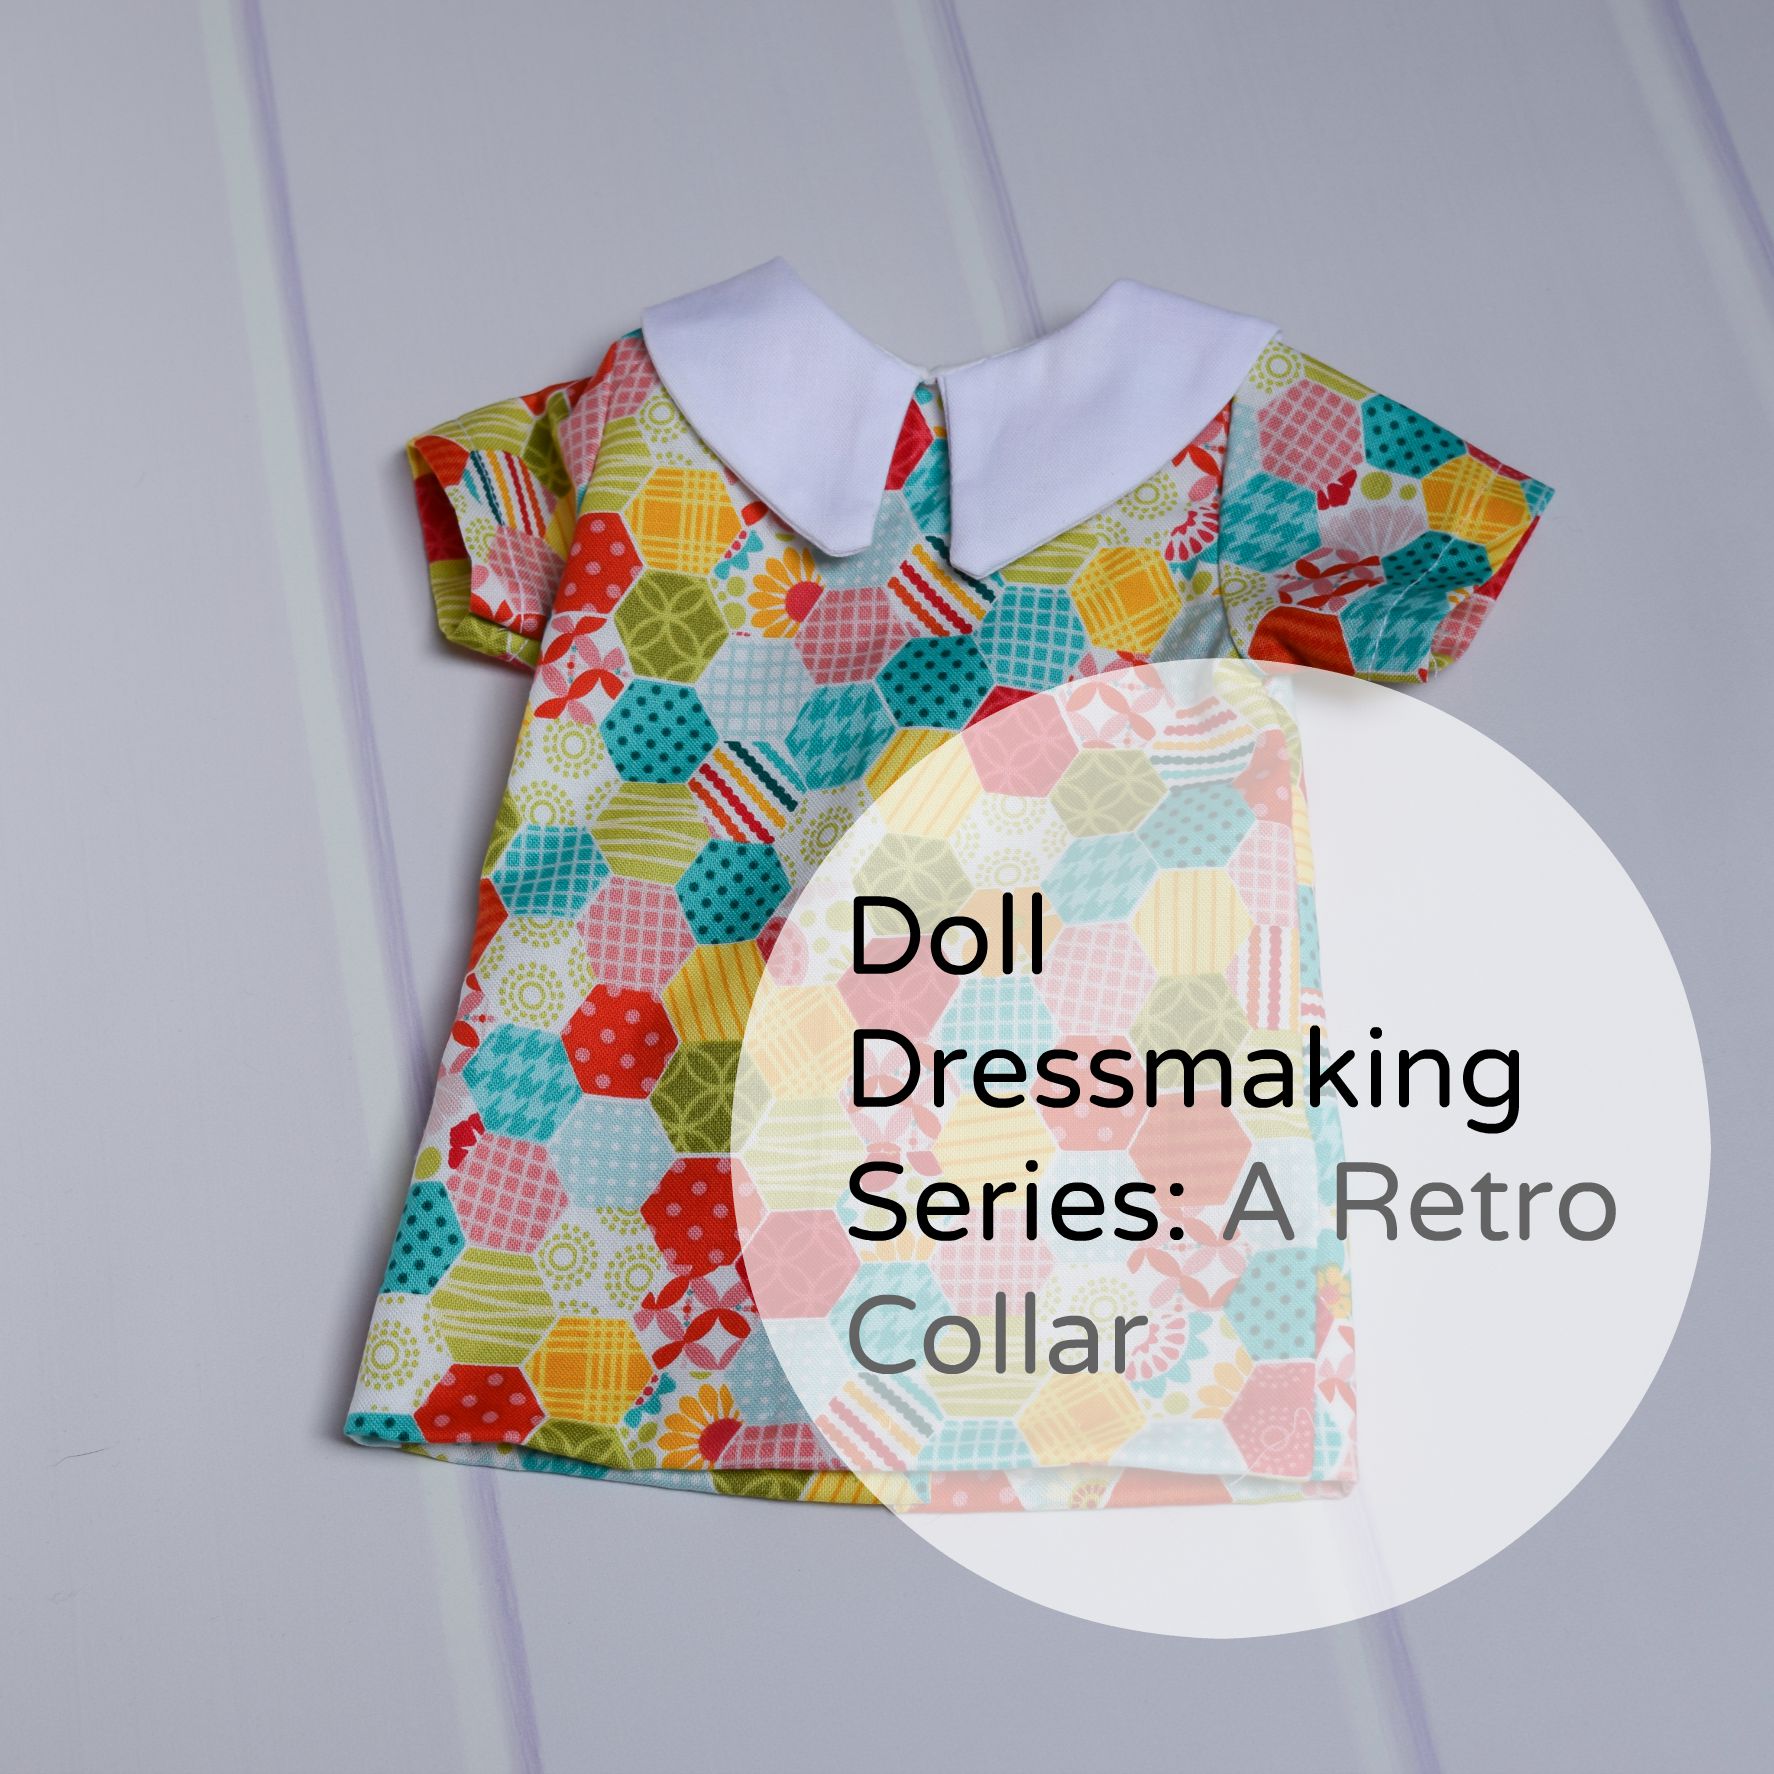
Doll clothes are often retro. Or classic. Or both. I thought a longer sharper collar is both retro and classic. It's also simple to sew. The pattern pieces will be in my next newlsetter.
I am basically following the instructions for my beginner's sleeve dress, which are here. But I'm including complete instructions here too.
From your main fabric cut:
- Dress front and back
- Sleeves
From the lining fabric (I used cotton lawn which is lighter in weight):
- Just the front and back
And then cut the collar fabric cut 4 collar pieces.
Sew shoulder seams of dress together.
Sew shoulder seams of the lining pieces together.
Sew collar pieces together. Clip corners and edges of collars.
Turon collar pieces right side out and push out corners with a point turner or blunt knitting needle. I use a Dritz Point turner,
Press.
Attach the two collar pieces to the dress fabric neckline making sure they are centered. I baste the centers on first. As shown here.
Stitch lining to main dress fabric, by starting at the bottom of the back opening, go up to the neckline, around the neckline and back down the back opening. When going around the neckline make sure you are stitching through the lining, the dress fabric AND the collar pieces.
Sew dress fabric to lining at each armhole. This is to make sure they stay together when you attach the sleeves.
Attach sleeves. See my easy sleeve tutorial if you are unsure how. These sleeves do not need gathering or easing.
1. Hem sleeves
2. Pin or clip sleevces to armhole edge. If you are feeling confident you can just sew and adjust while you are sewing.
3. Turn over and check that it looks okay.
Sew side seams and hem.
I'd love the pattern pieces! Sign up for my newlsetter and receive the base pattern set and keep up with all future pieces. This will be in the upcoming issue.


