Doll Dressmaking: How Another Doll Maker Sews
Part of the fun of running the Doll Dressmaking Series is seeing the photos of the doll dresses people have made from the series. I am amazed at the creativity and skills they are developing.
Needless to say I was doubly thrilled when doll maker Shannon McCann sent me photos of the dresses she had made on her adorable dolls.
Shannon's Doll Making
I happily stumbled upon the Phoebe and Egg website several months ago when it was featured under the “Inspiring People” section on a local soft toy maker’s blog. I felt we shared an attraction to bright colours, festive patterns and all things tiny and cute. I soon delved deeper into Lisa’s blog and, much to my excitement, discovered the Doll Dress Making Series, which provided a crystal clear step-by-step guide to making the most glorious doll dresses.
The discovery of Lisa’s blog was very timely as ever since August of last year I had become obsessed with sewing my own dolls and playing dress-up with any article of tiny clothing I could manage to create. After tinkering with patterns for the body, figuring out how to attach and style colourful yarn hair and enlisting my sister to help me design quirky faces, my little 13-inch cotton rag dolls were born. The only problem was that after all of the tweaking I did to the pattern, I had created a doll that none of the most common doll clothing patterns available online would fit (e.g. American Girl, Waldorf Dolls). As someone quite new to sewing, I had very limited experience in altering existing patterns or creating new ones and my little outfits were coming up a bit wonky. I struggled with all kinds of proportion problems; arm and neck holes choking my little doll and nonsensical widths and lengths plaguing my every turn!
The Doll Dressmaking Series
I promptly e-mailed Lisa for my own basic dress patterns and ran down to the local library to start fiddling with the copier. Using the “Resizing the Pattern” blog entry I made copies of the Phoebe sized dress at both 90% and 80% of the original size, as well as the simple sleeve and ruffle sleeve. I sewed the basic reversible dress and it was oh-so-close to perfect (I should have made a crude version of the dress first but I was just too excited). I noted that the neck and arm circumferences were just perfect for my little dolls; however, my girls must have a bit of a bigger booty than Phoebe as the dress did not overlap enough in the back. I simply retraced the pattern and added a ¼” to the back of the dress as per the tutorial and it then fit like a dream.
After such success adapting the pattern to the size of my doll, I decided to venture forth and experiment with more entries from the Doll Dressmaking Series. I had previously been struggling with bias tape necklines as a means to make my dresses look nicely finished. The tiny, doll-sized, bias tape was very tricky to work with and did not join up seamlessly in such small spaces causing my work to look sloppy.
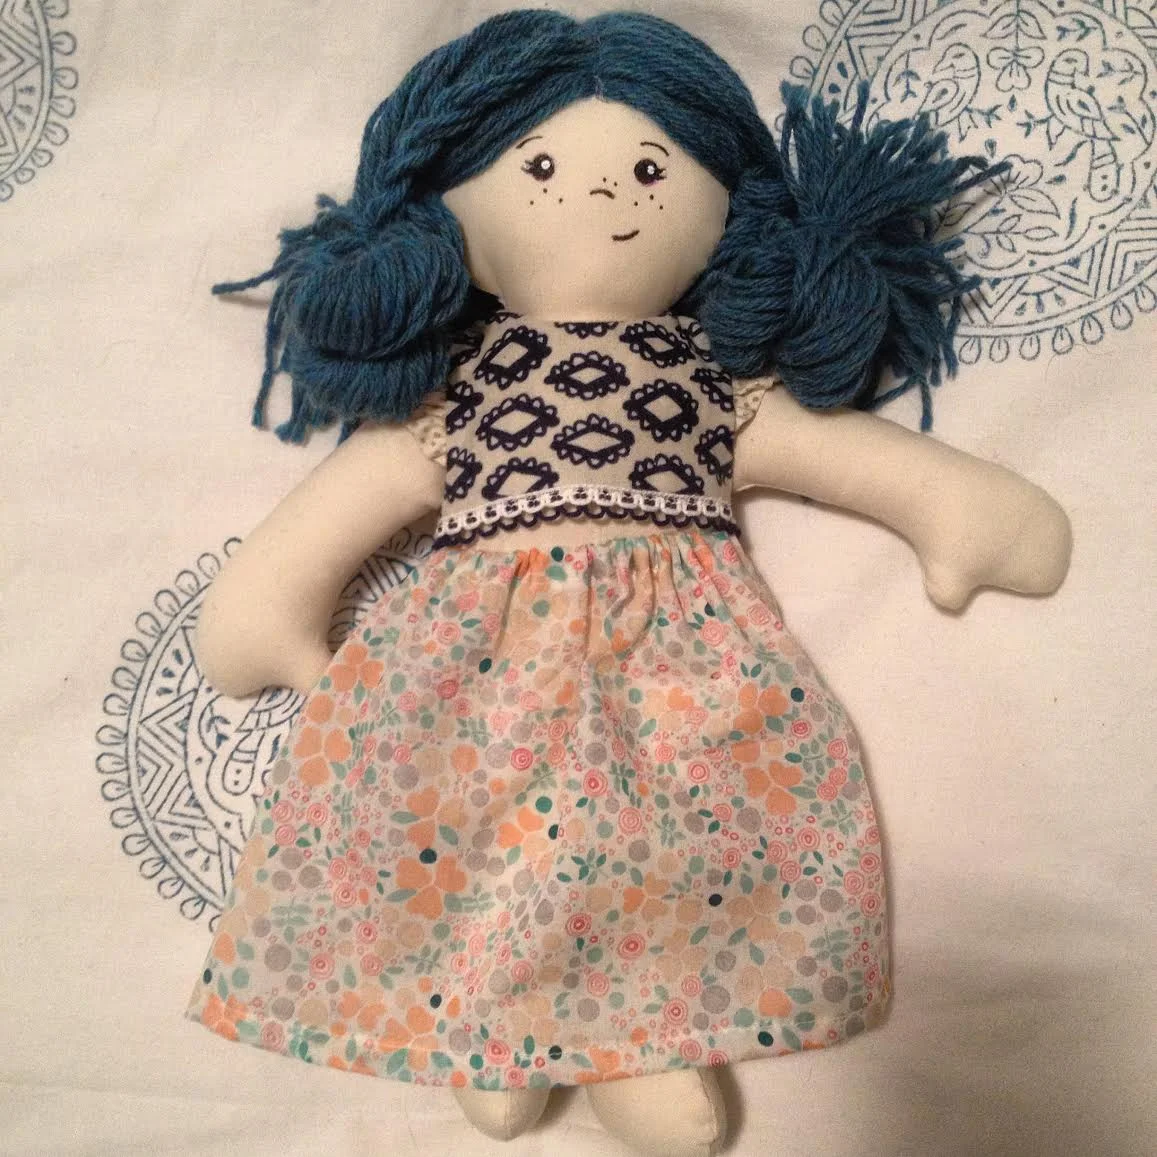
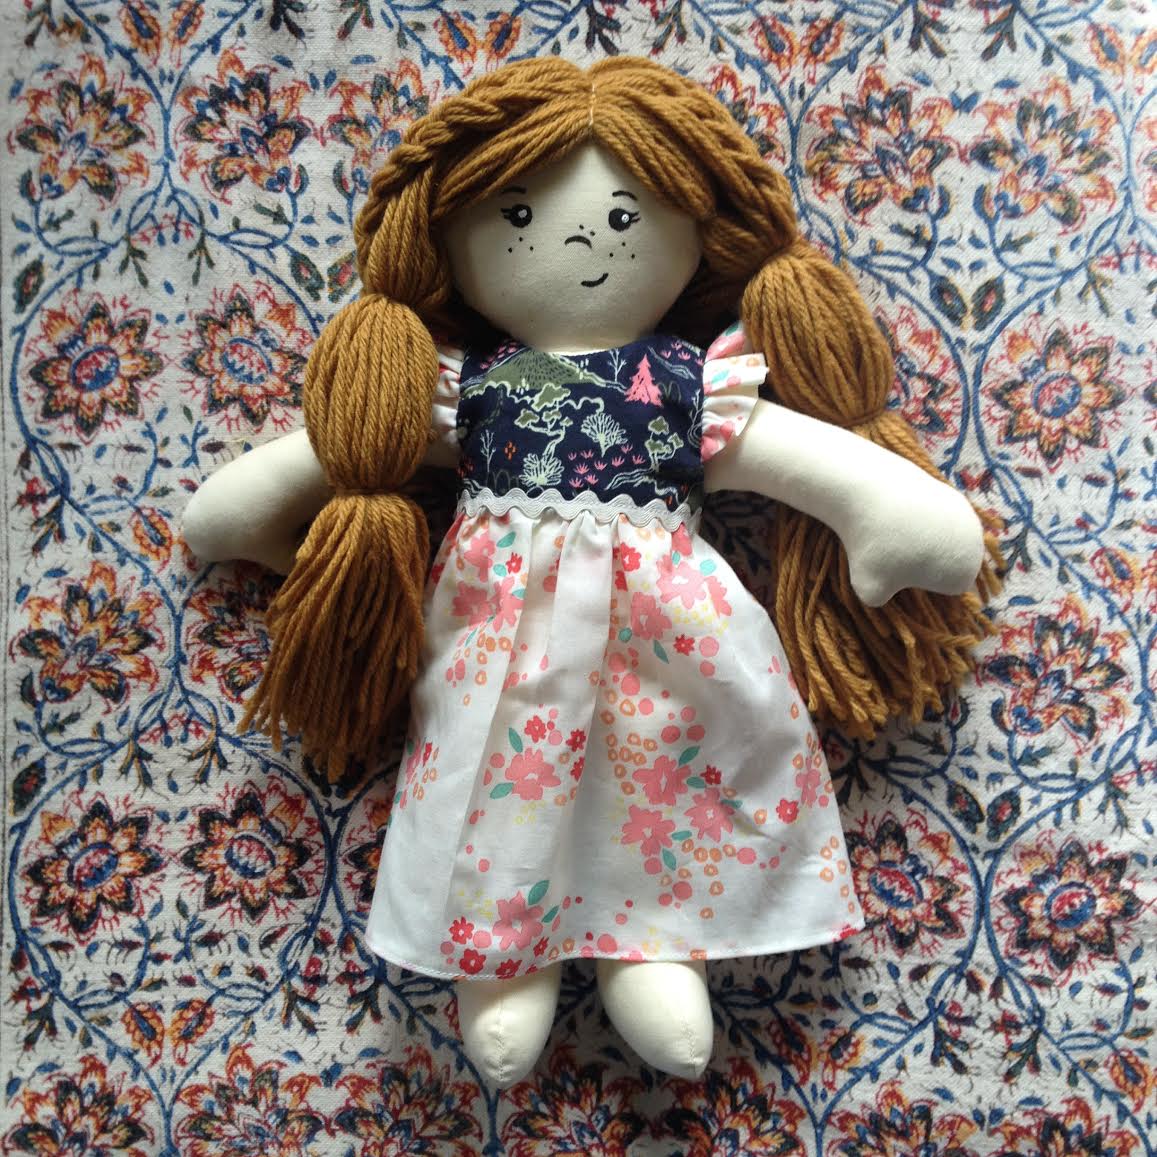
I was in love with the look of the linings and facings used in Phoebe’s wardrobe, but was certain that such finery would be too difficult for me create with my limited experience. This was, in fact, not true! With the crystal clear instructions and photos provided, I managed to sew a fully lined floral basic dress on my first try with gold polka-dotted simple sleeves to boot!
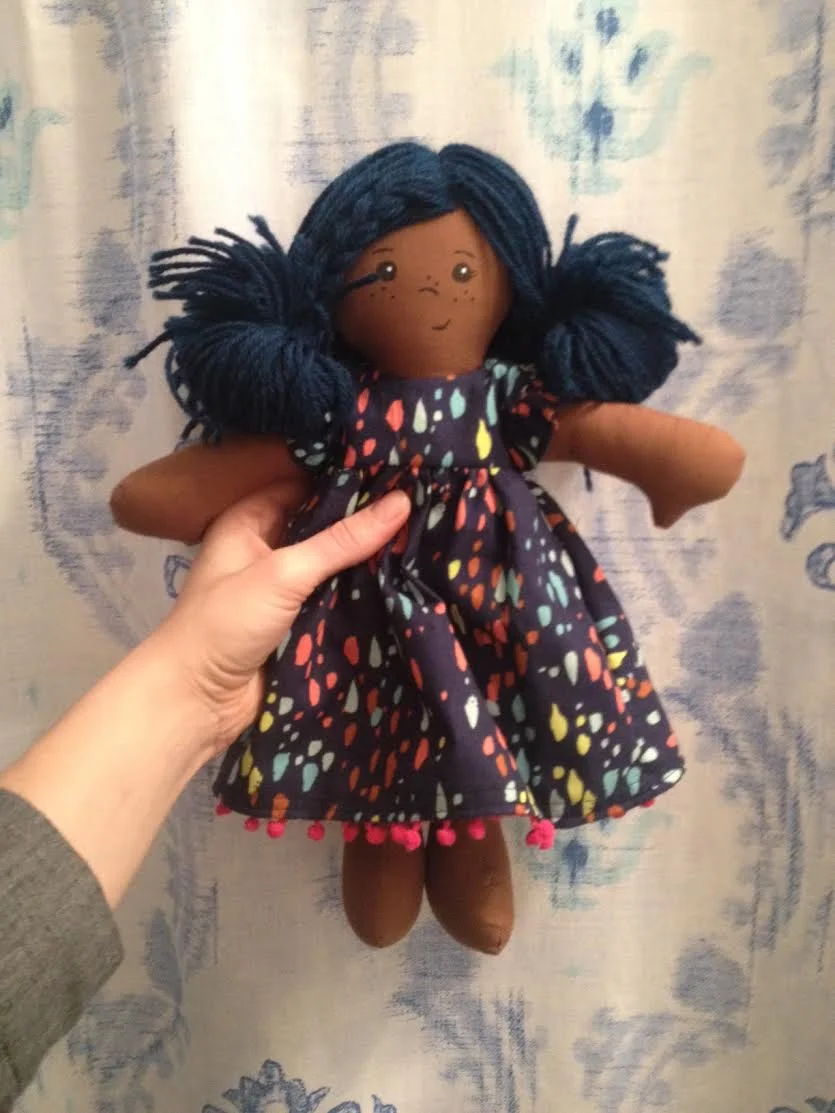
Next I tried the ruffled sleeves on a basic lined dress, but took it one step further and created a black and gold polka dot bodice with a pink floral skirt by simply cutting the pattern and adding a seam allowance. I then used this bodice piece to sew a flowing paint-splatter patterned dress with a gathered skirt and ruffled sleeves – my dolls were fashion week ready!
I am now more inspired than ever to grow my doll-making skills and produce more funky little lady’s with wild hair and snazzy outfits. I am excited to try the ruffle making tutorial and make my girls some ready-to-twirl circle skirts.
I would love to see a stretch-knit legging tutorial on the blog sometime as a love the look of a dress with charming little tights underneath and want to become more familiar sewing with different types of fabric. Improving my pant and jacket making skills is also a desire of mine as some of my girls are definitely ready to go for a hike in the forest sans dress!
The blog entries providing sourcing tips for fabric and trim have been a great help and source of inspiration – it has made me pom-pom crazy!
Sending my biggest thanks and warmest wishes from the rainy coast of British Columbia!
Shannon
A little bit about Shannon:
Shannon grew up on a grain farm in southern Saskatchewan, Canada running through the yellow fields of wheat. She has a Bachelor of Science Degree in Physiology as well as a Diploma in Prosthetics and Orthotics. She currently works as a pediatric Orthotist in Vancouver, British Columbia, Canada. She loves to hike, bike, snowboard, knit and most recently sew!


