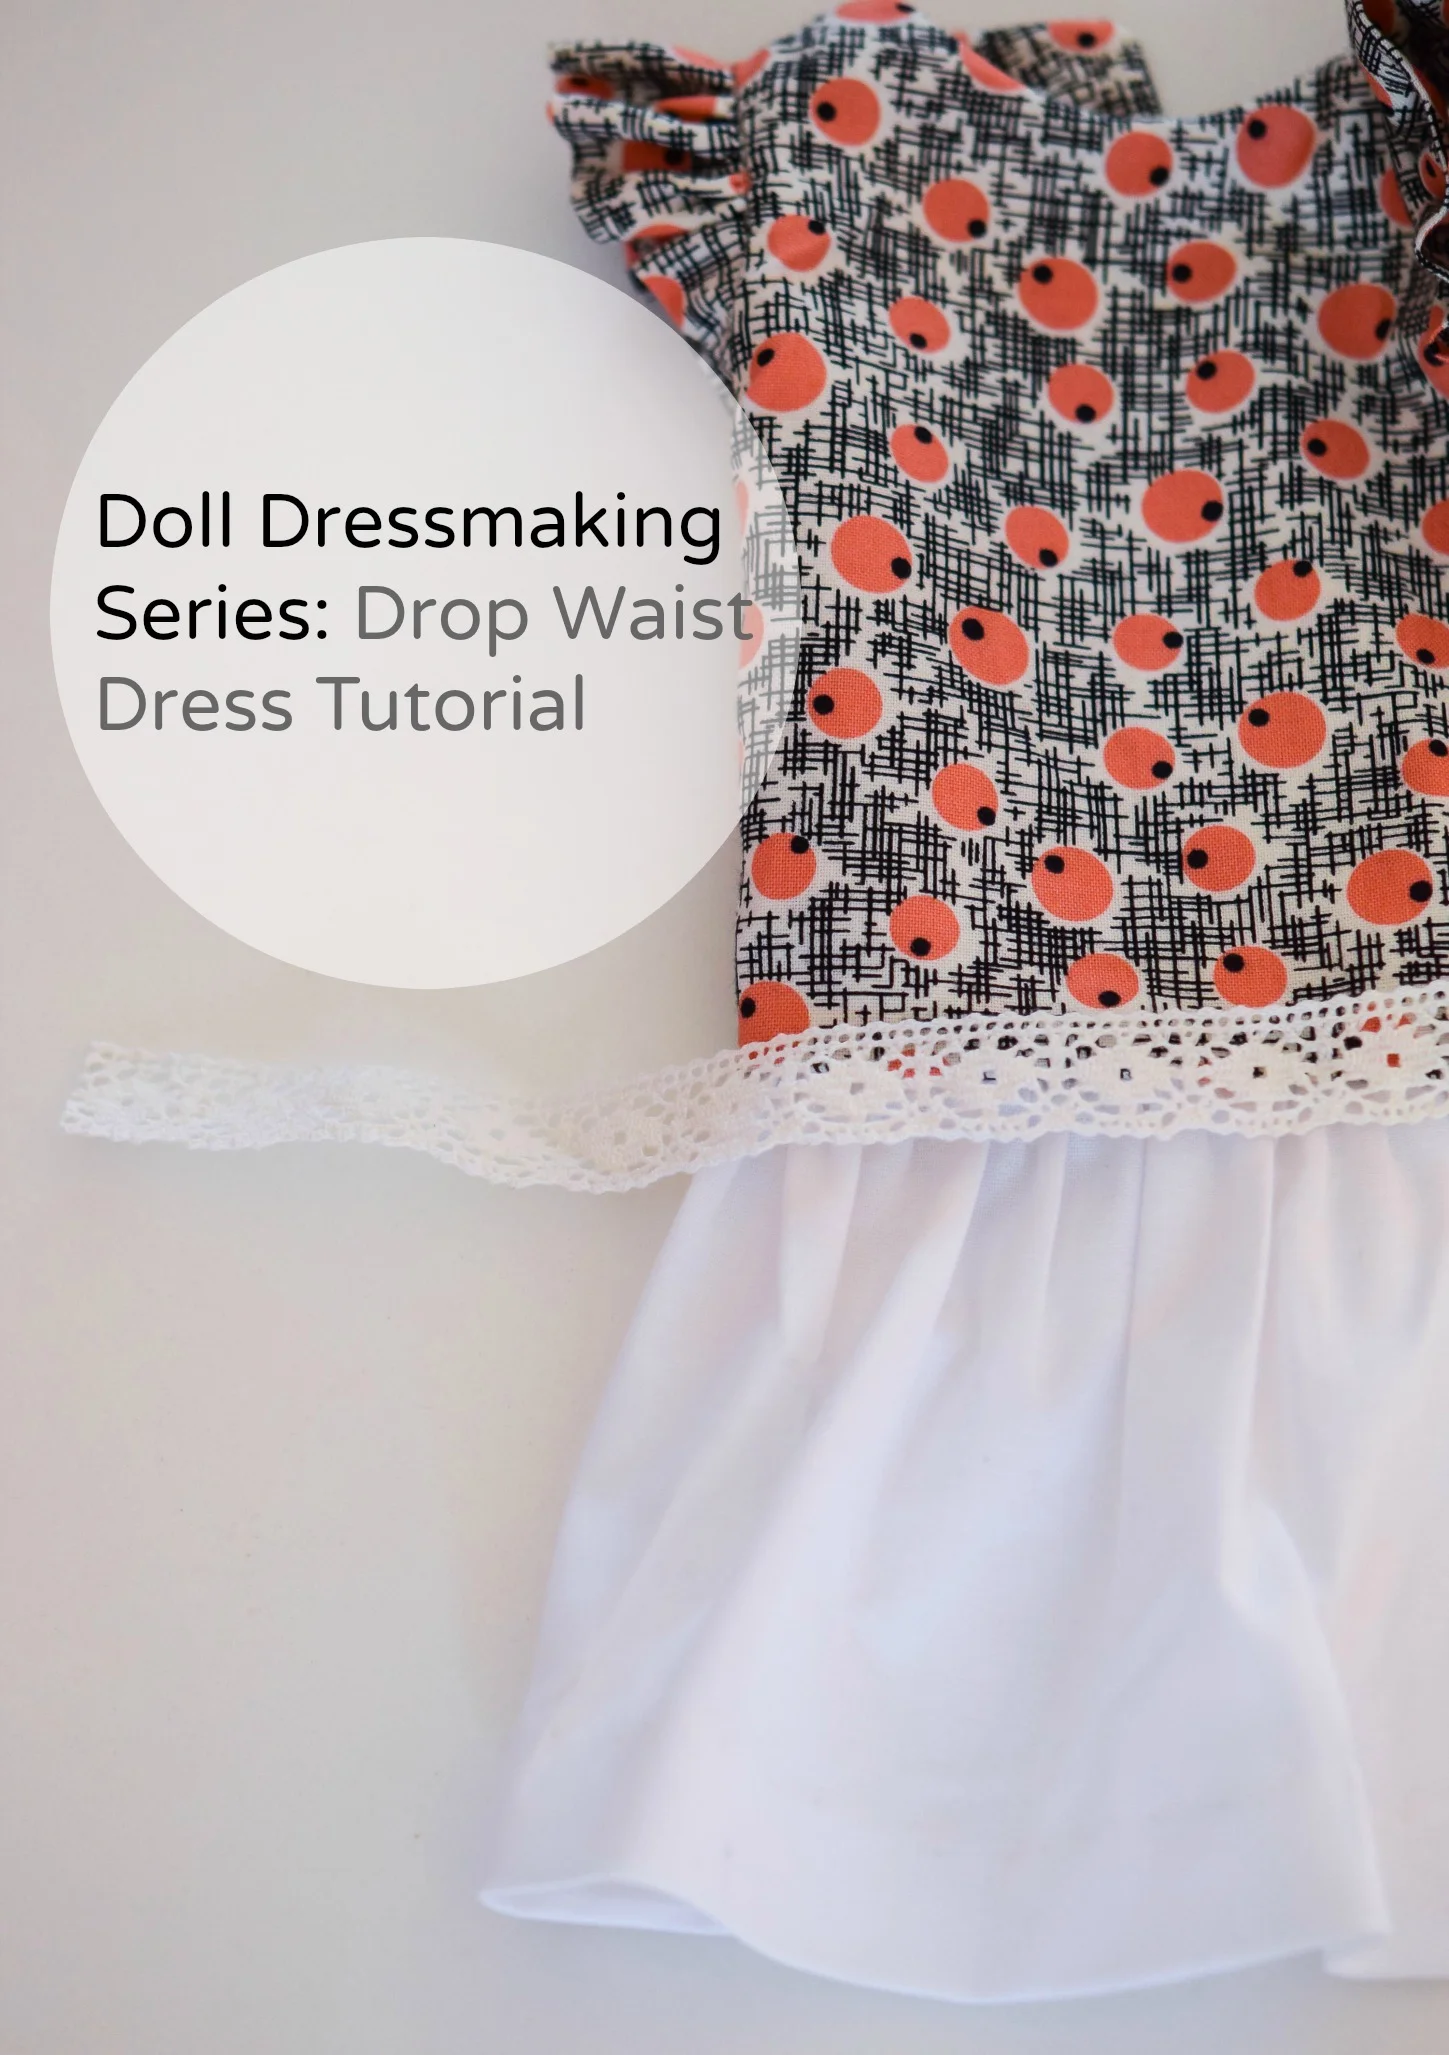
Making a drop waist dress uses the same skills and techniques as making the dress with a bodice. the new skill used for both of these is gahering the skirt and attaching it to the bodice. For the drop waist dress, the bodice is longer, which can lead to some other cute designs.
Like a dress with a pleated skirt.
Or a dress with a Victorian bodice.
Or just using the bodice pieces as a top, with no skirt. I will cover these later this week.
In this tutorial, I gave the dress ruffle sleeves. It could also be sleeveles or use any of the other sleeve patterns.
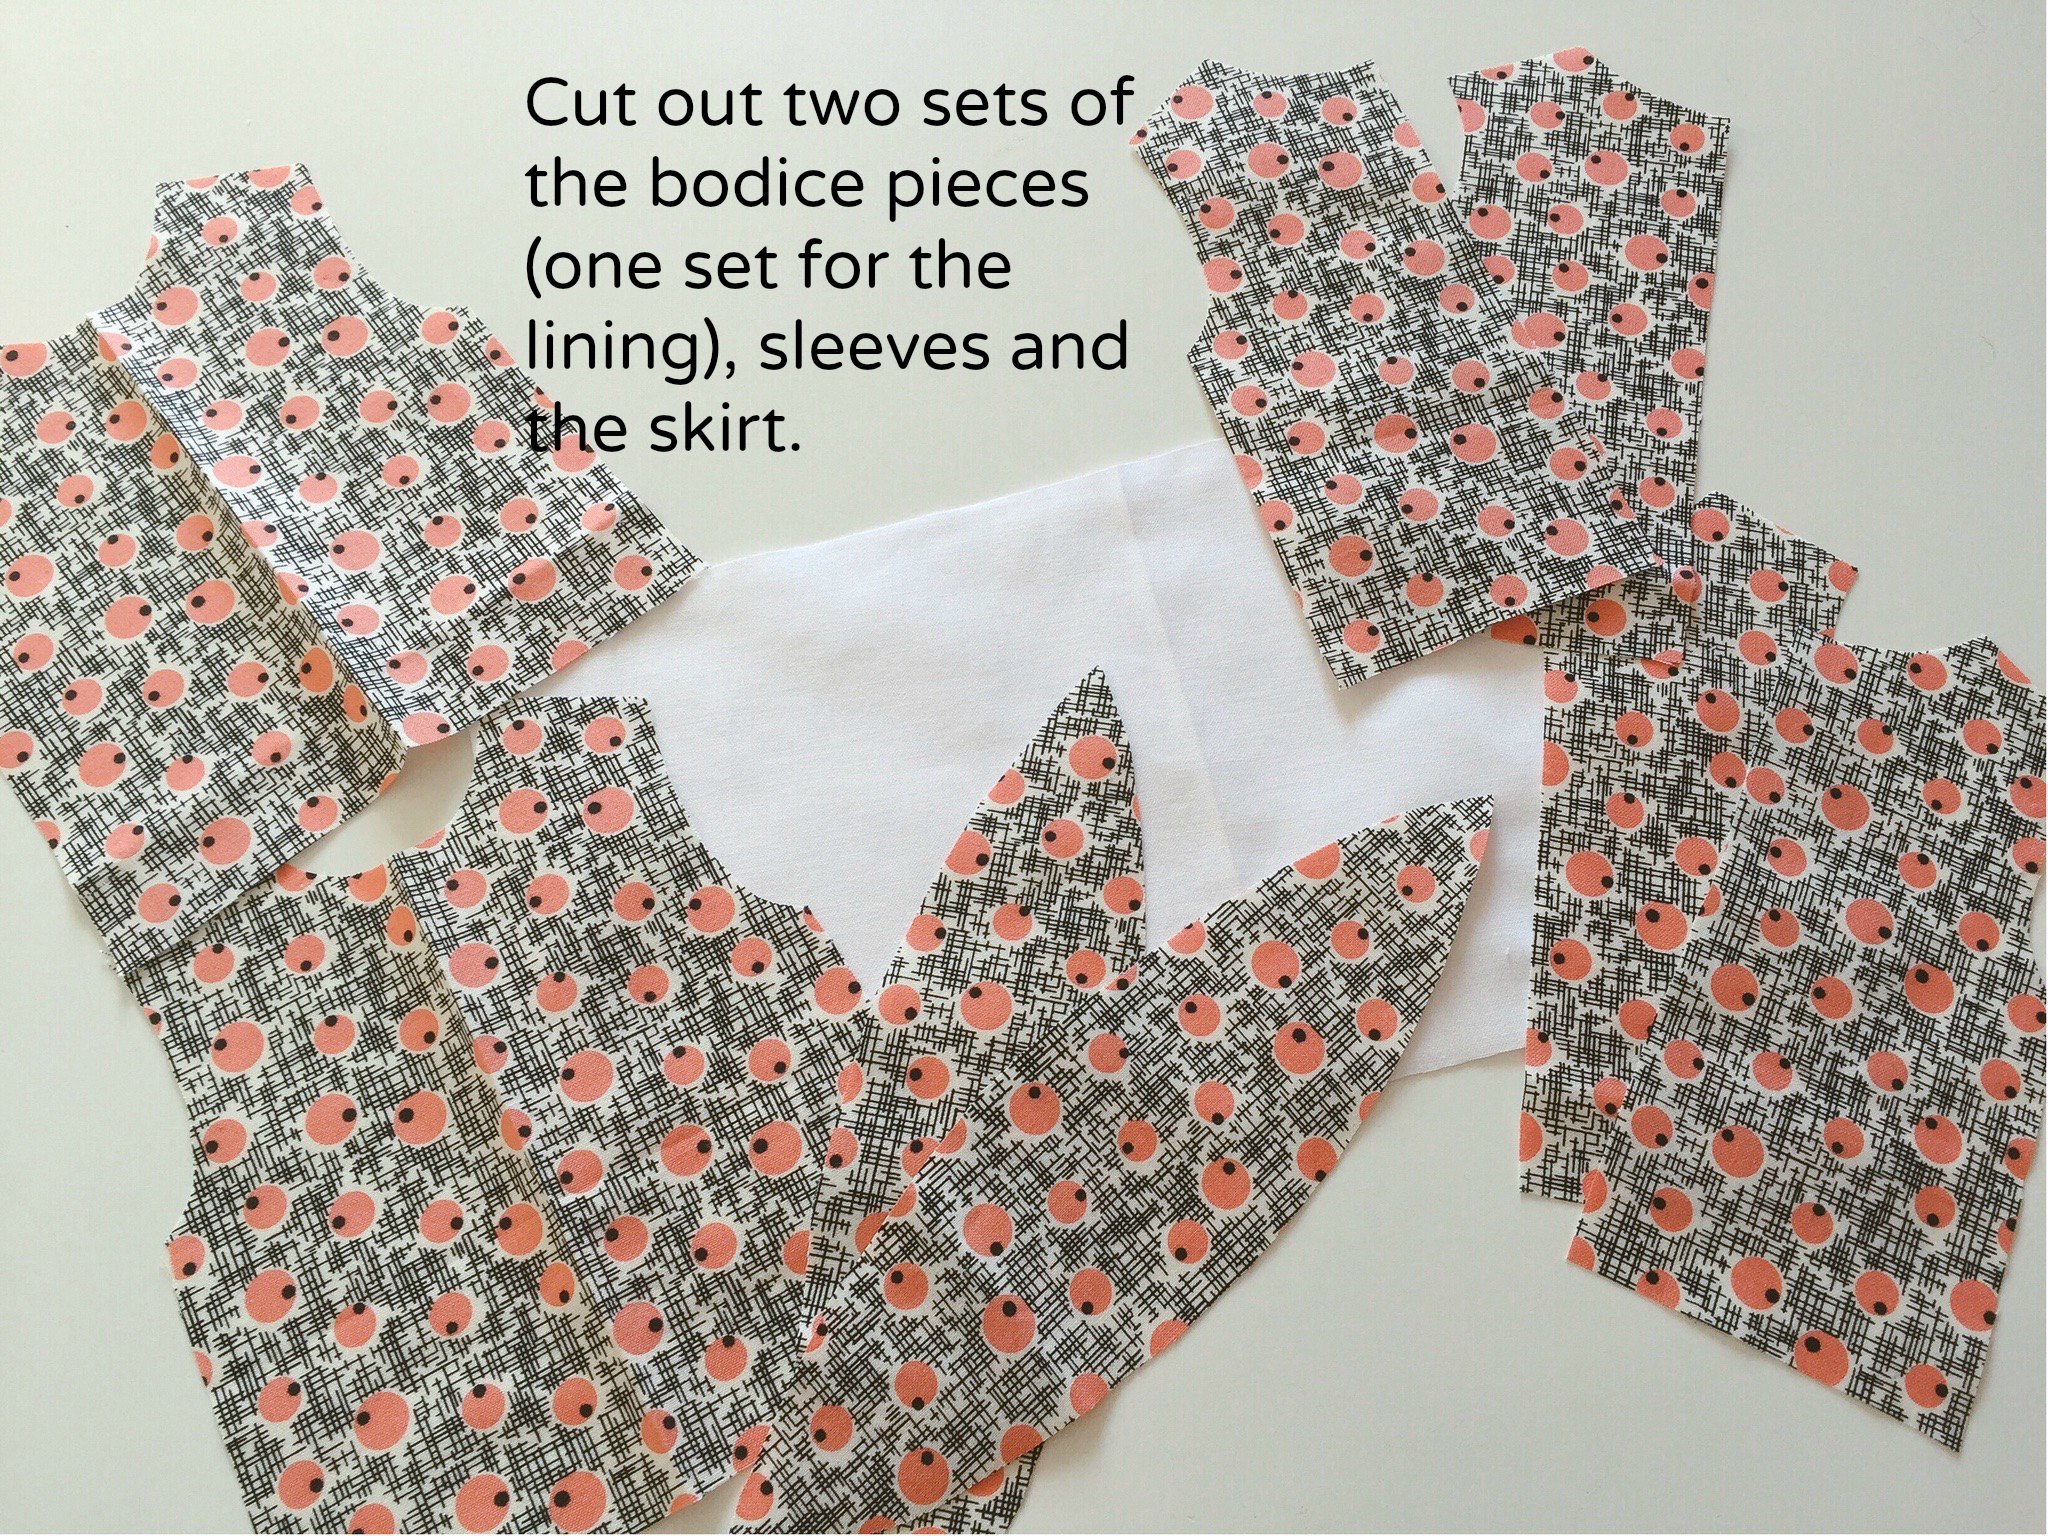
Start by cutting out all of the pieces (sign up for free pattern nd newsletter at the end of this post). If you already receive the newsletter, you're all set.
Sew shoulder seams of bodice together. Sew shoulder seams of the bodice lining together. for this dress I used the same fabric.
Match and sew lining and bodice back edges and neckline together. Clip curves and corner so it will trun nicely and has crisp corners.
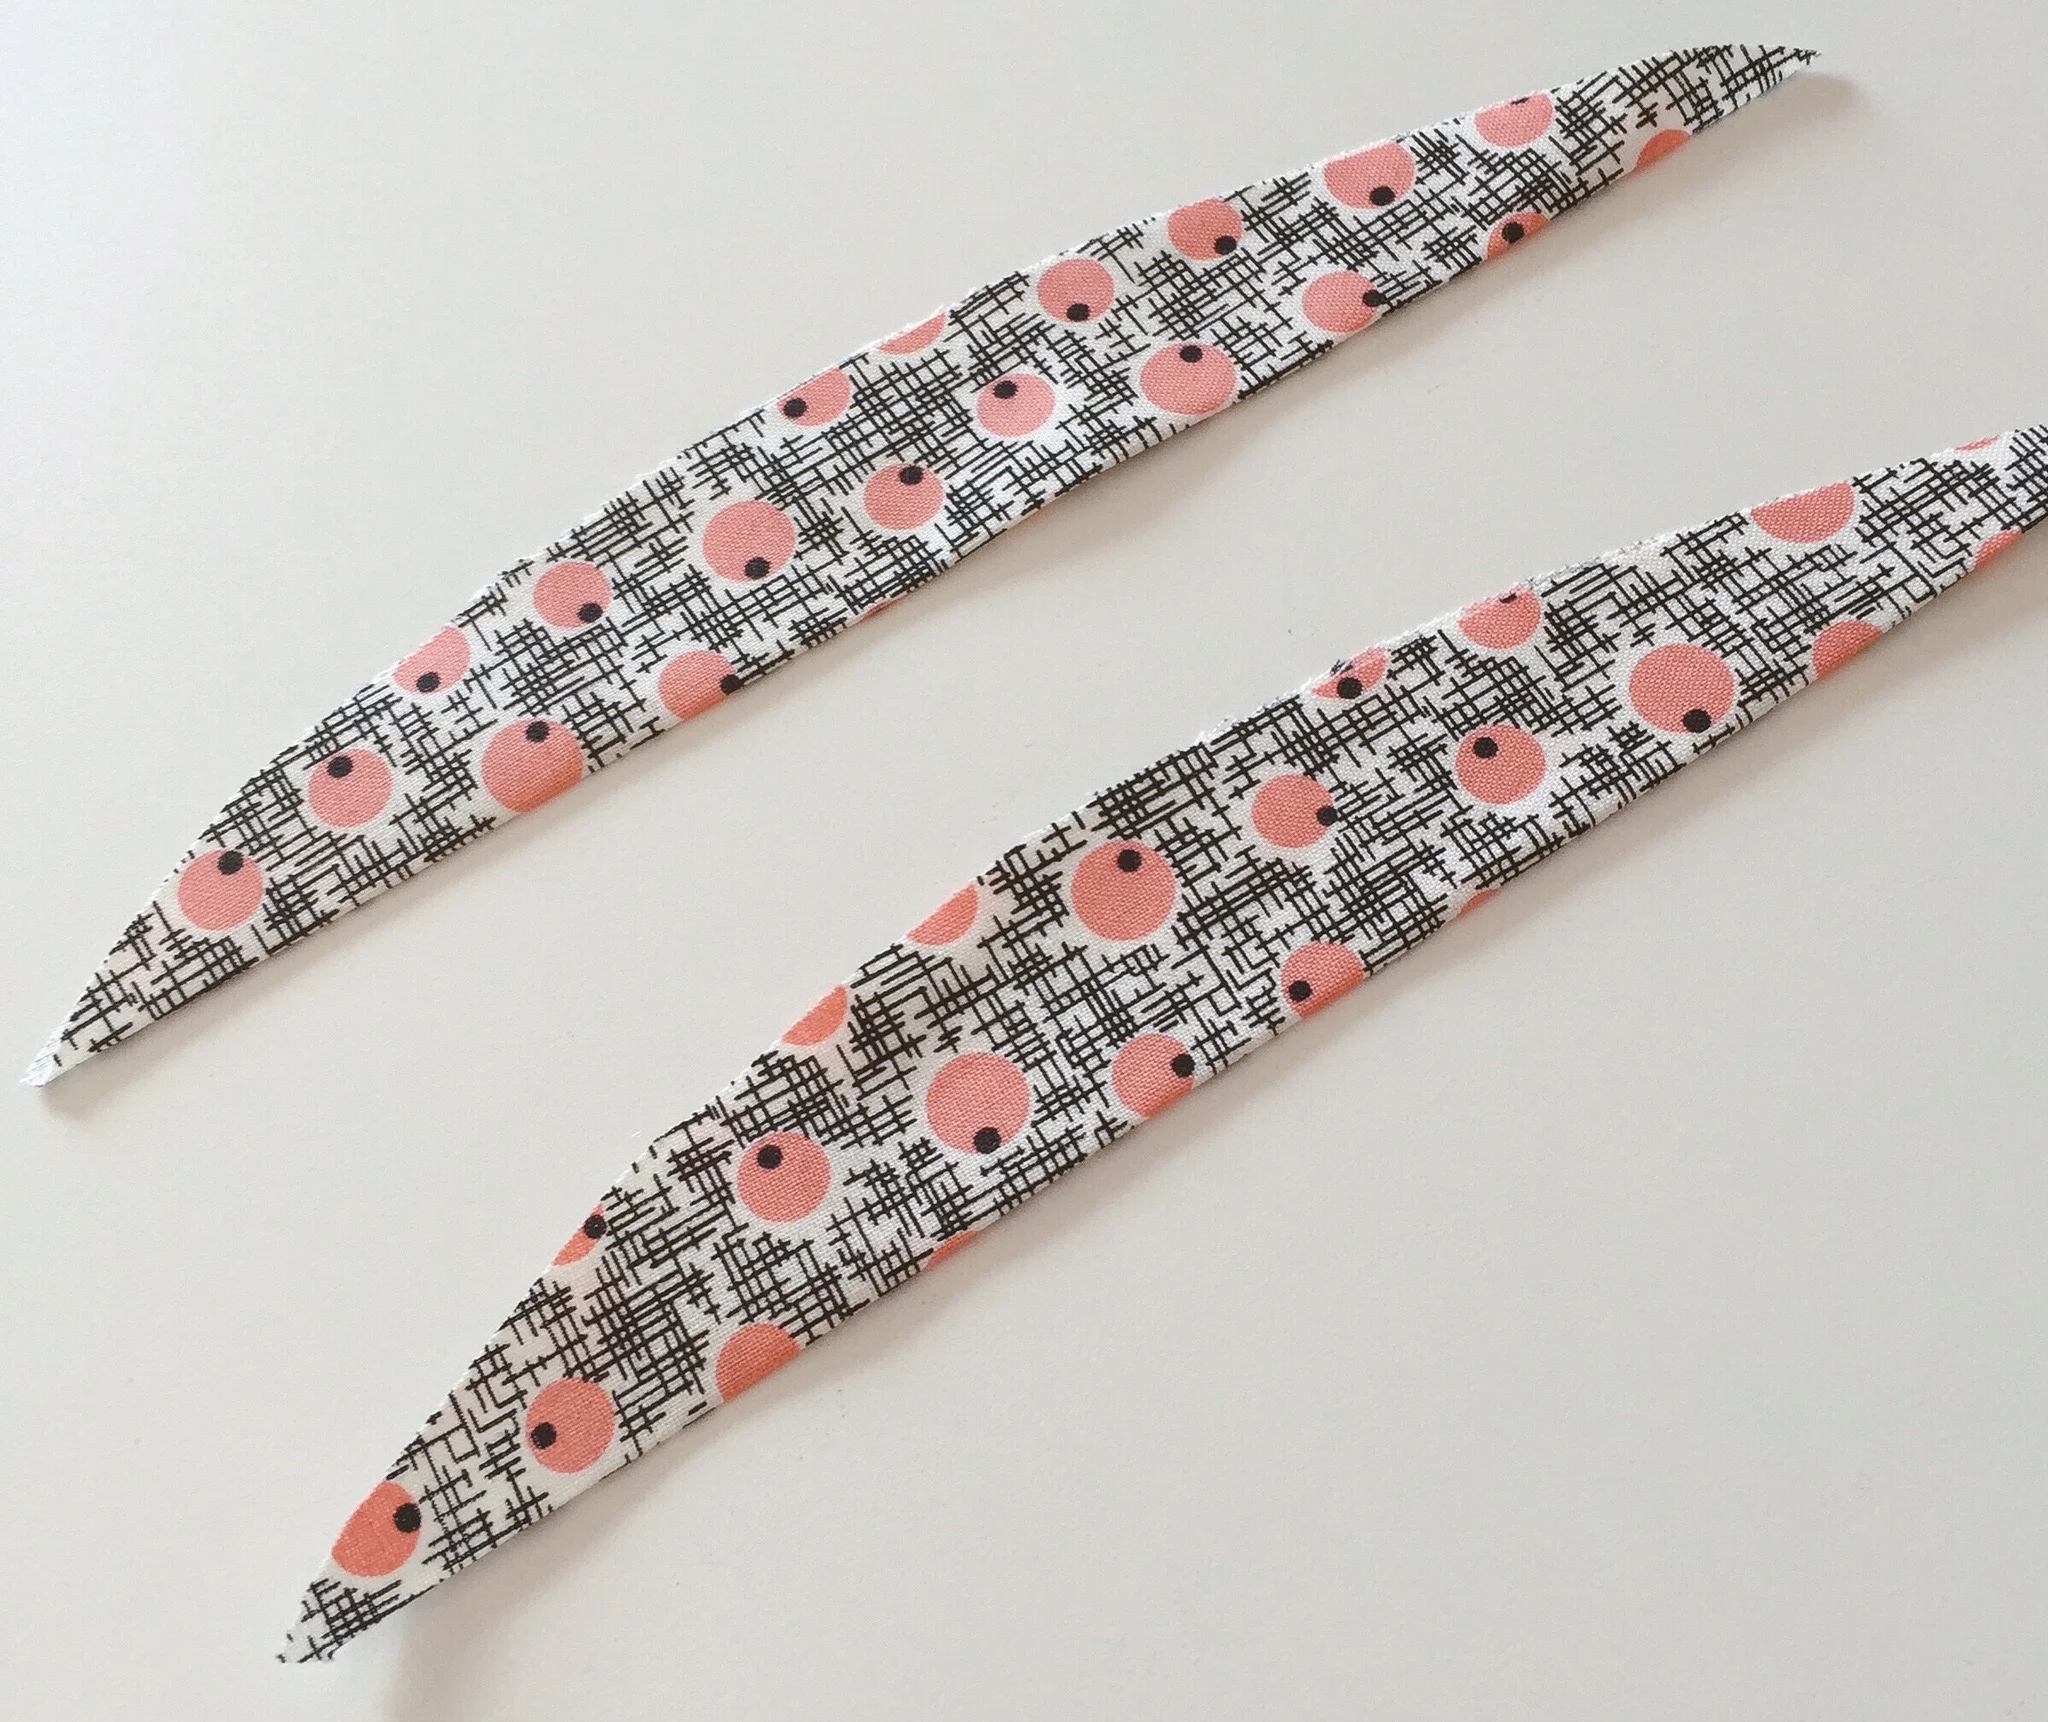
If you are adding the ruffle sleeves, iron them with a fold down the middle.
Stitch two rows of gathering along the raw edge of each sleeve. Pull gathering for sleeve to fit in armhole. Instructions for ruffle sleeves are also here.
Pull gathers to fit armhole length and stitch in place to one layer of the bodice.
Follow the same stitching line to stitch other layer of the bodice to sleeve.
Turn right side out. Your bodice now looks like this.
Sew side seam by matching the underarm seams between the lining and the bodice. Stitch from bottom edge of bodice to bottom edge of lining on each side. See Reversible Dress Tutorial for help on this.
Your bodice should look like this.
Finish the edges of your skirt. I did a narrow hem and then ironed it over about 3/8 of an inch.
Stitch two rows of long stitches for gathering the skirt and pull until the skirt will fit along the bottom edge of the bodice. Tutorial on sewing skirt to a bodice here.
Stitch the skirt to the bodice.
Hem and add trim.
Stay up to date on all of the pattern pieces and tutorials, plus recieve useful tips and recommendations:


