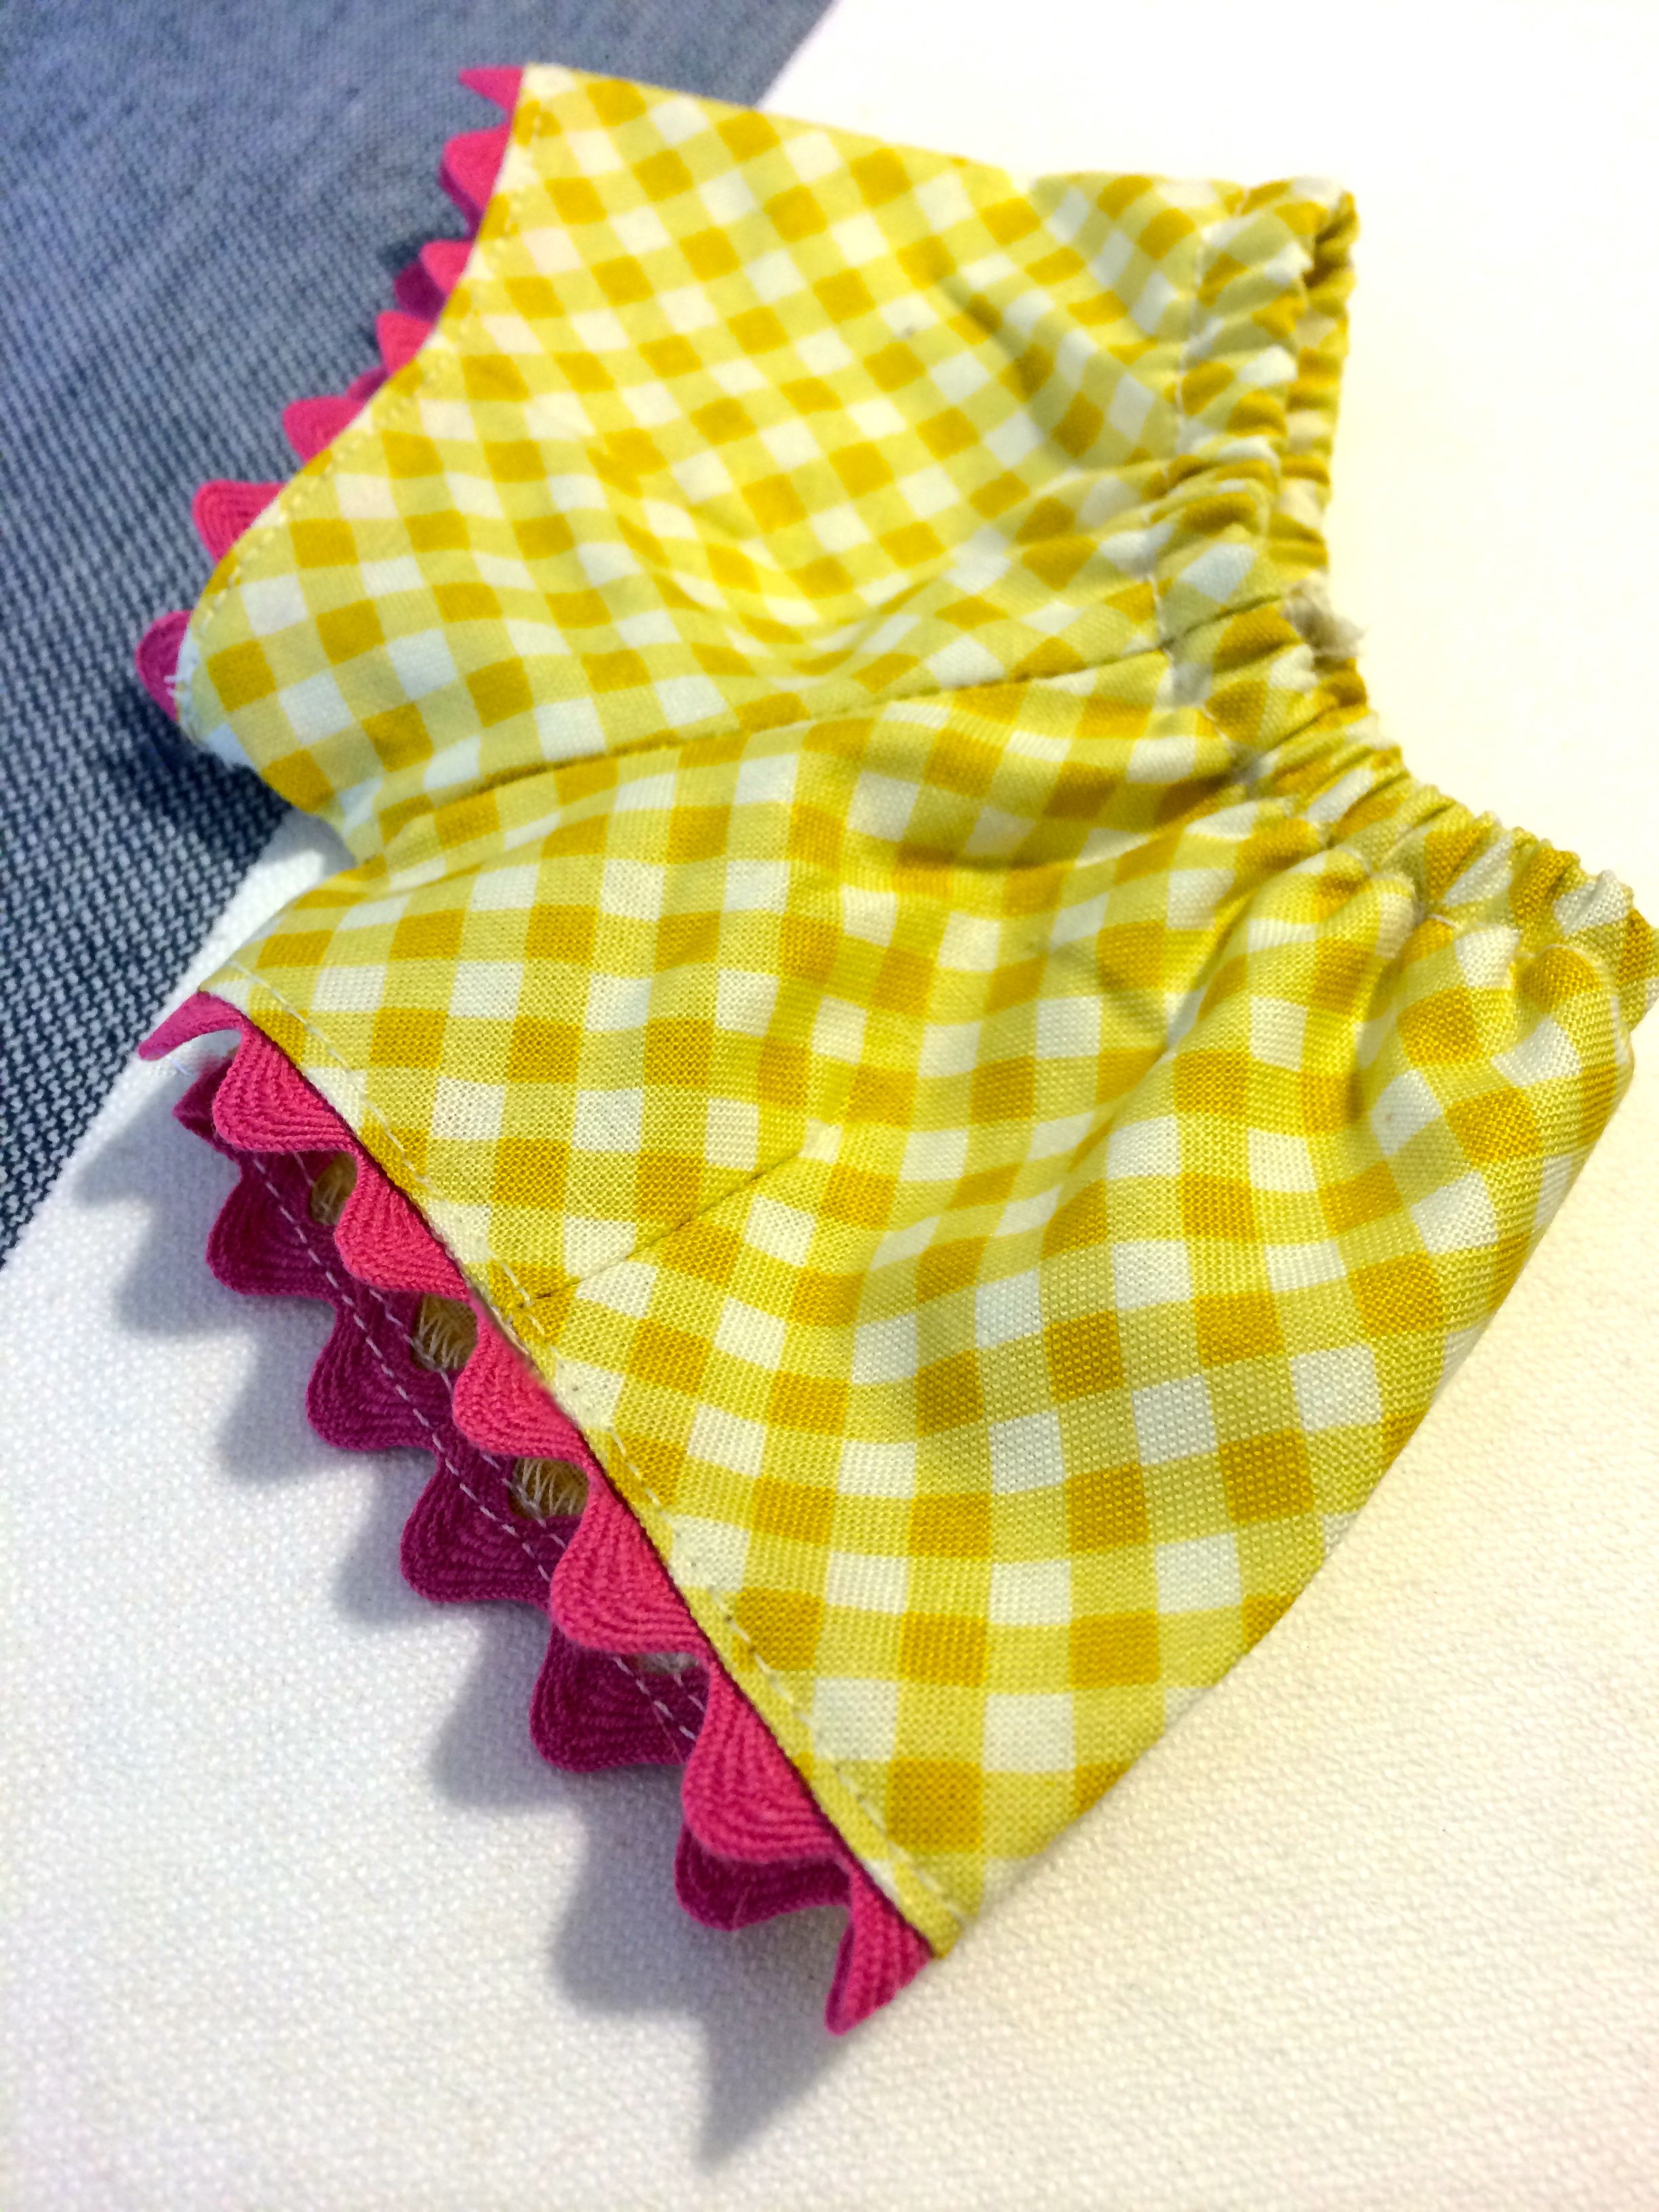
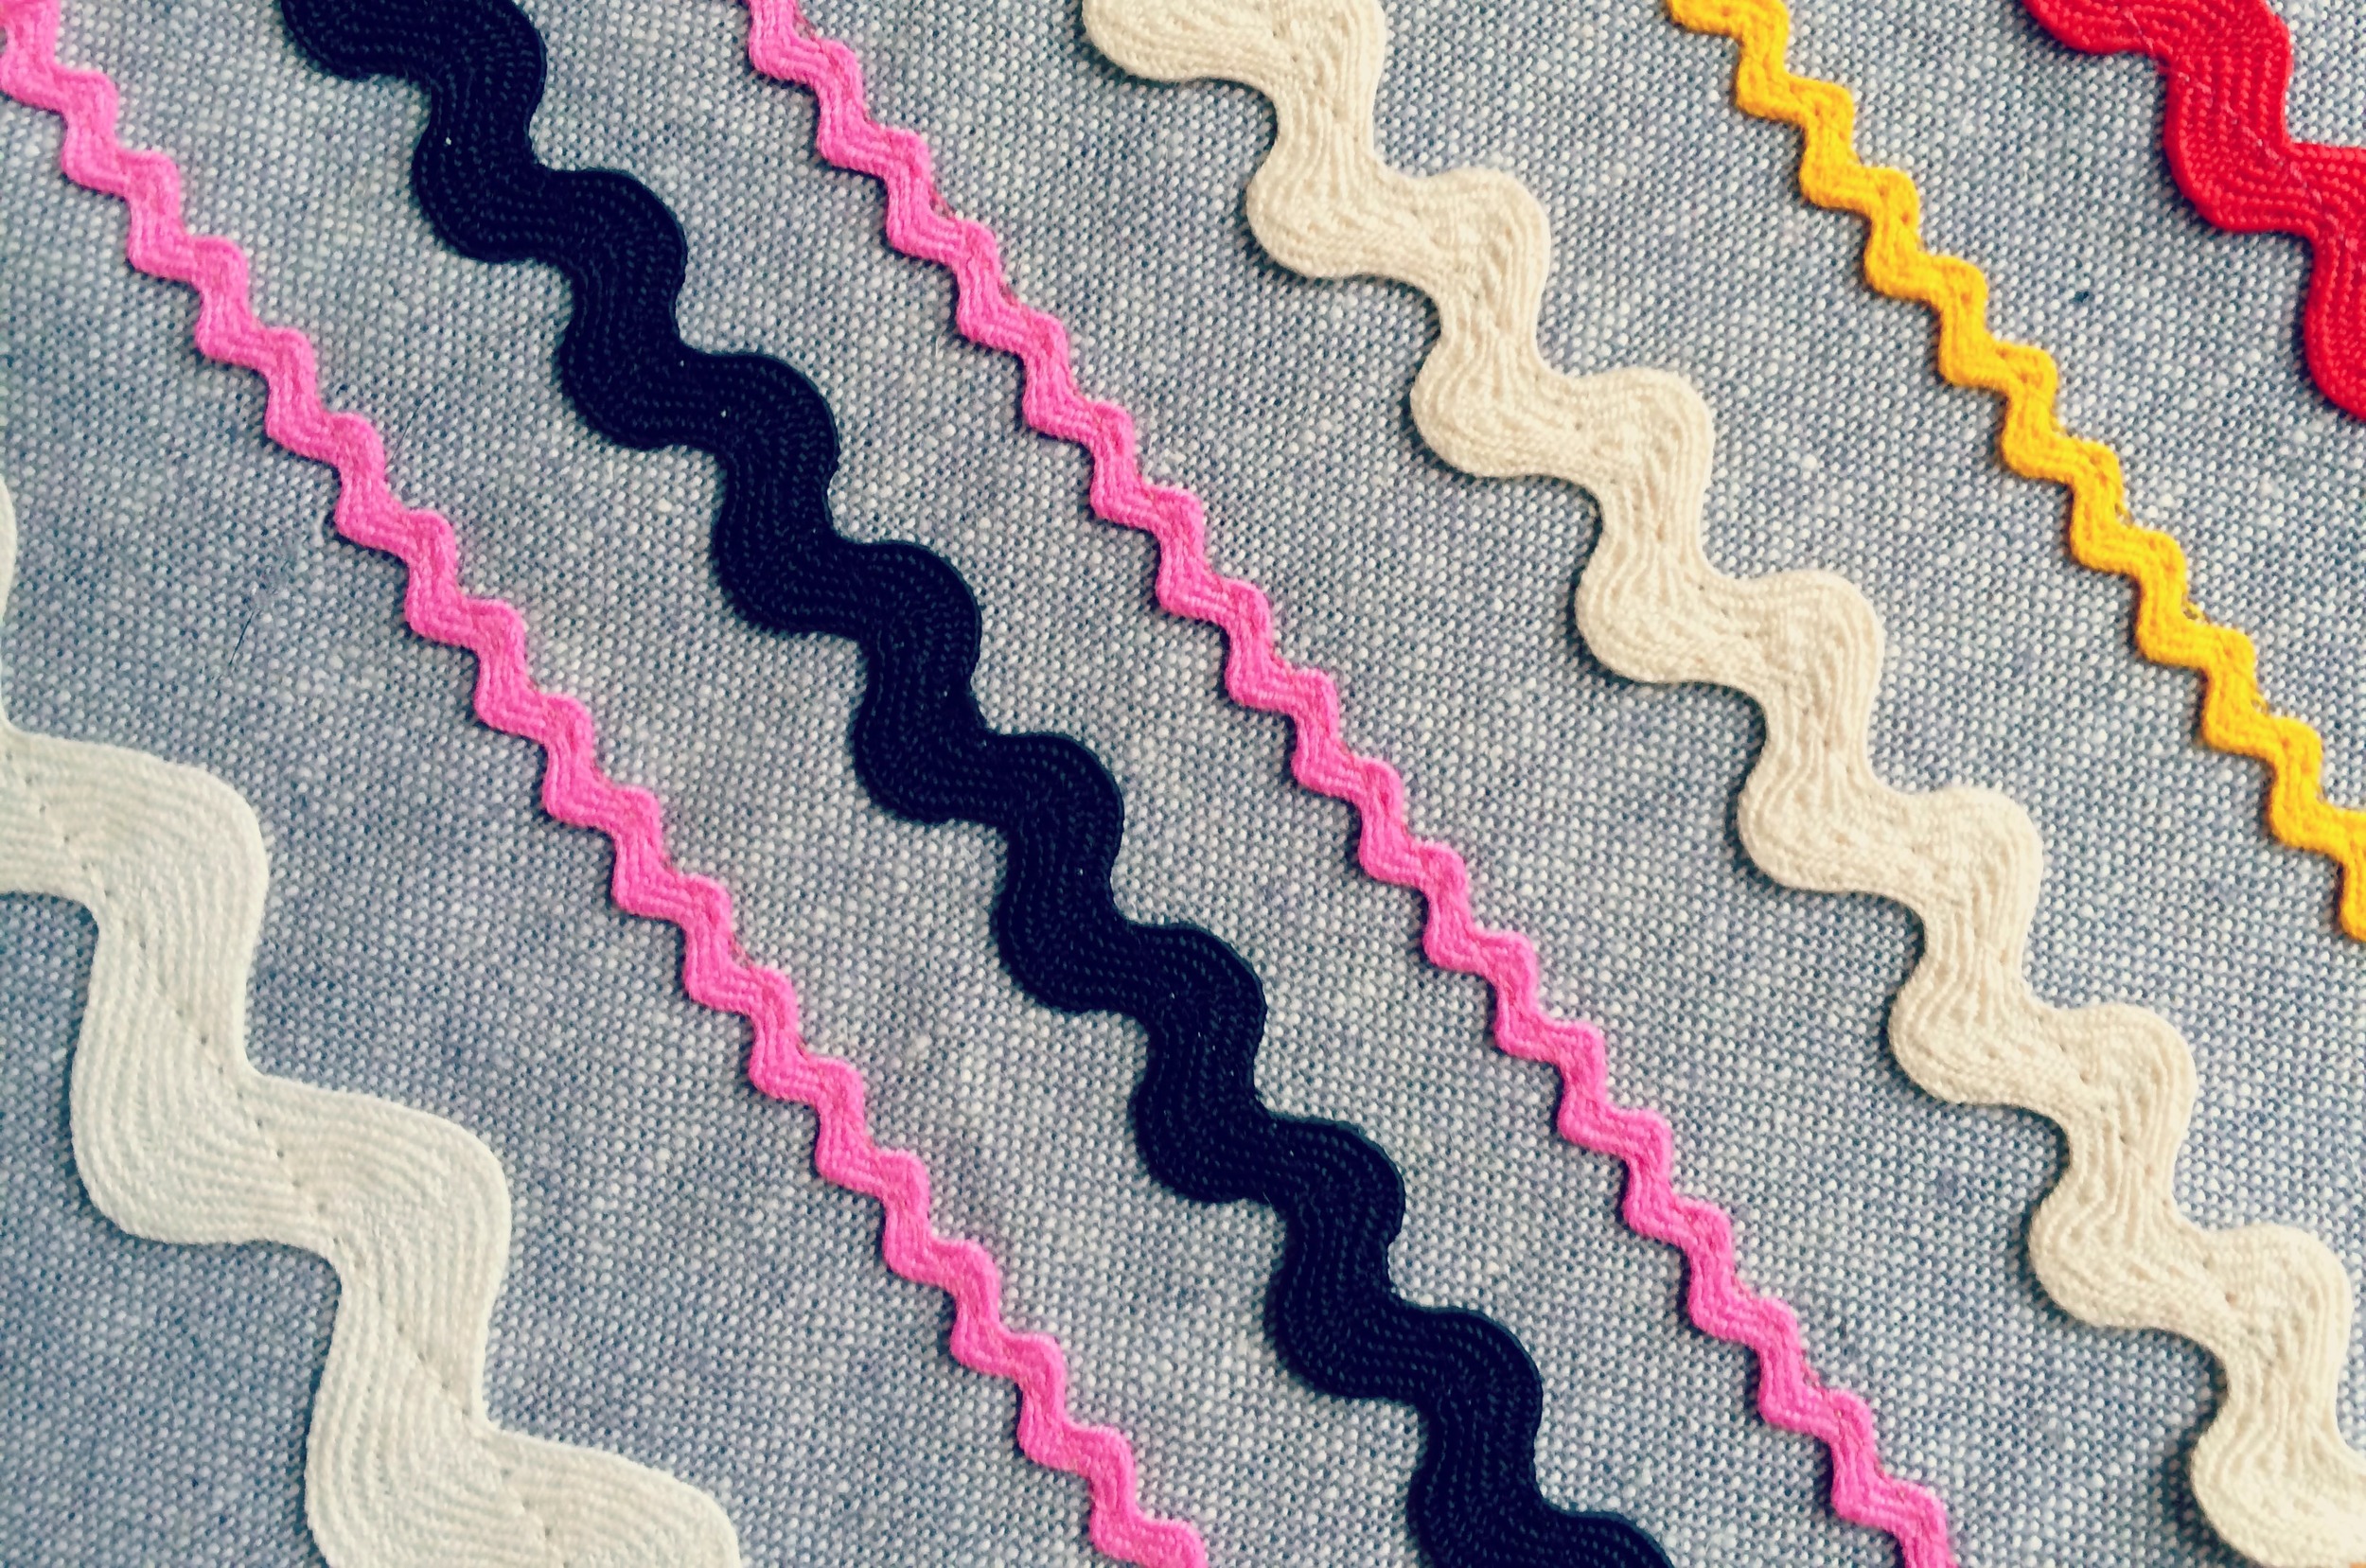
I love to use rick rack as an edging on doll clothing. It's simple and sweet. It is also easy to come by and comes in so many colors. It is very easy to do. Follow the steps I've laid out below.
1. Sew rick rack down the center line onto the edge you are trimming. You do not need to match the thread to the rick rack color. This stitching will not show.
Here's how your edges should look now. This is your first pass of adding the edging.
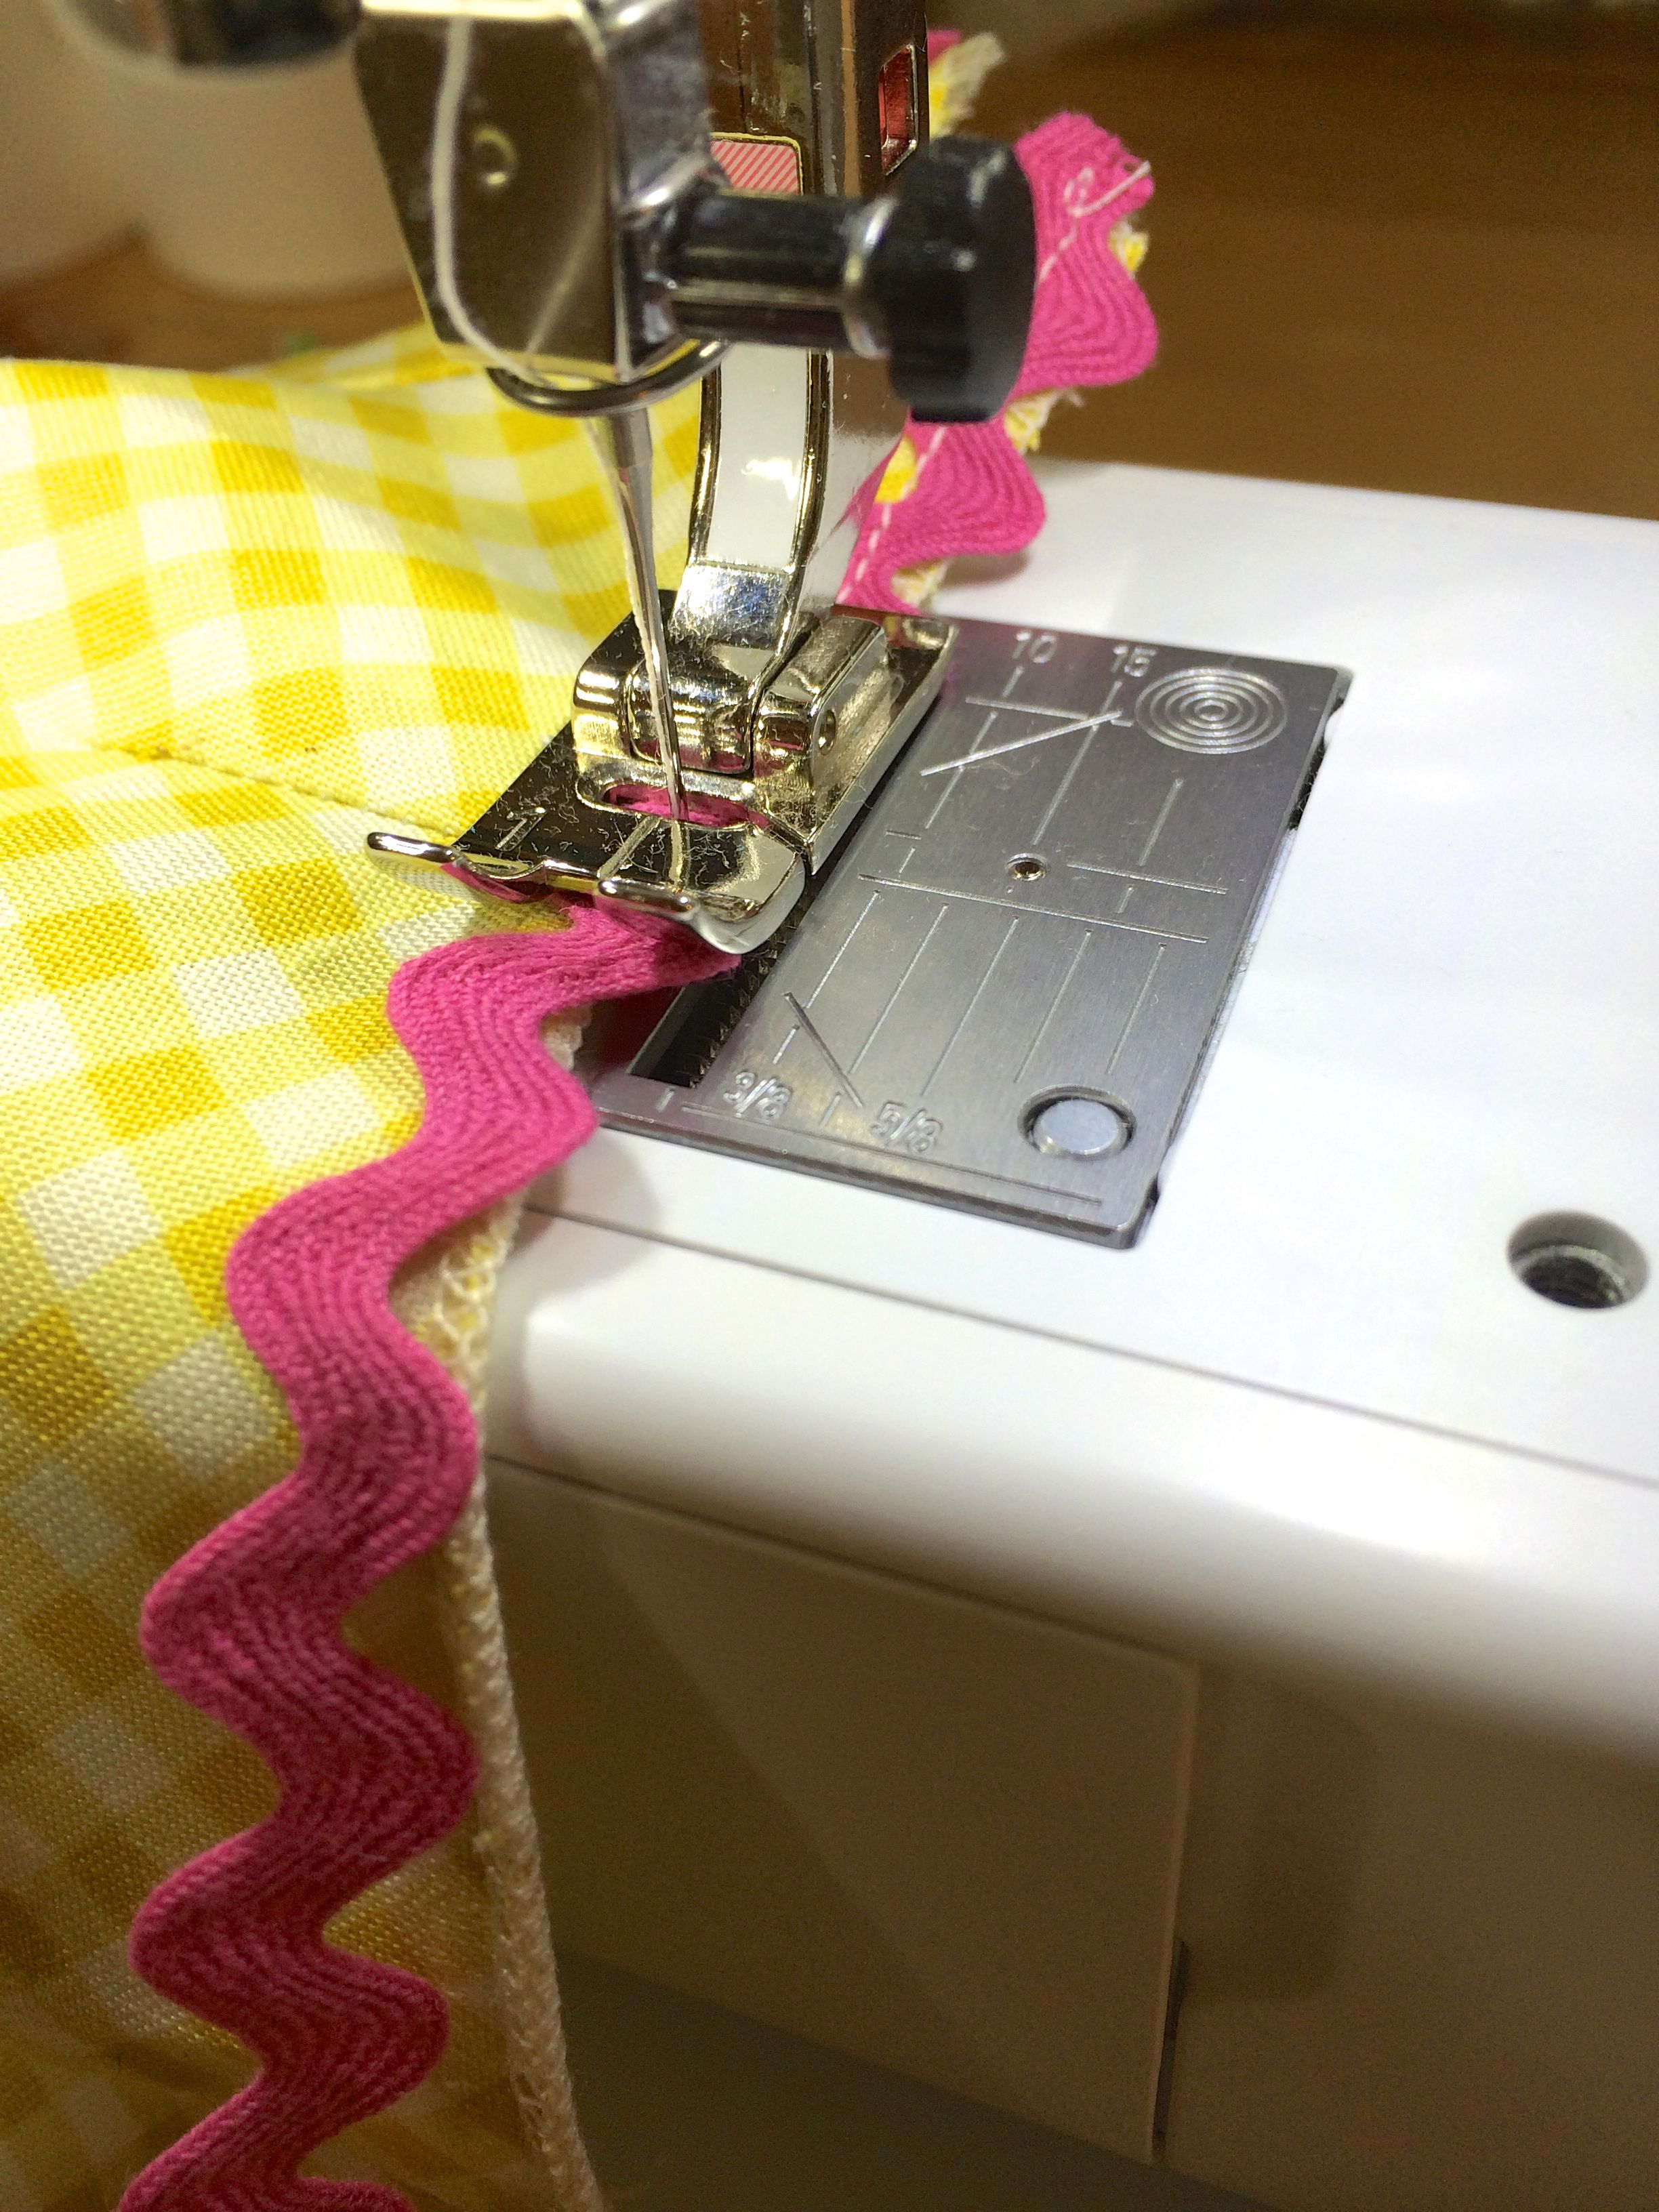
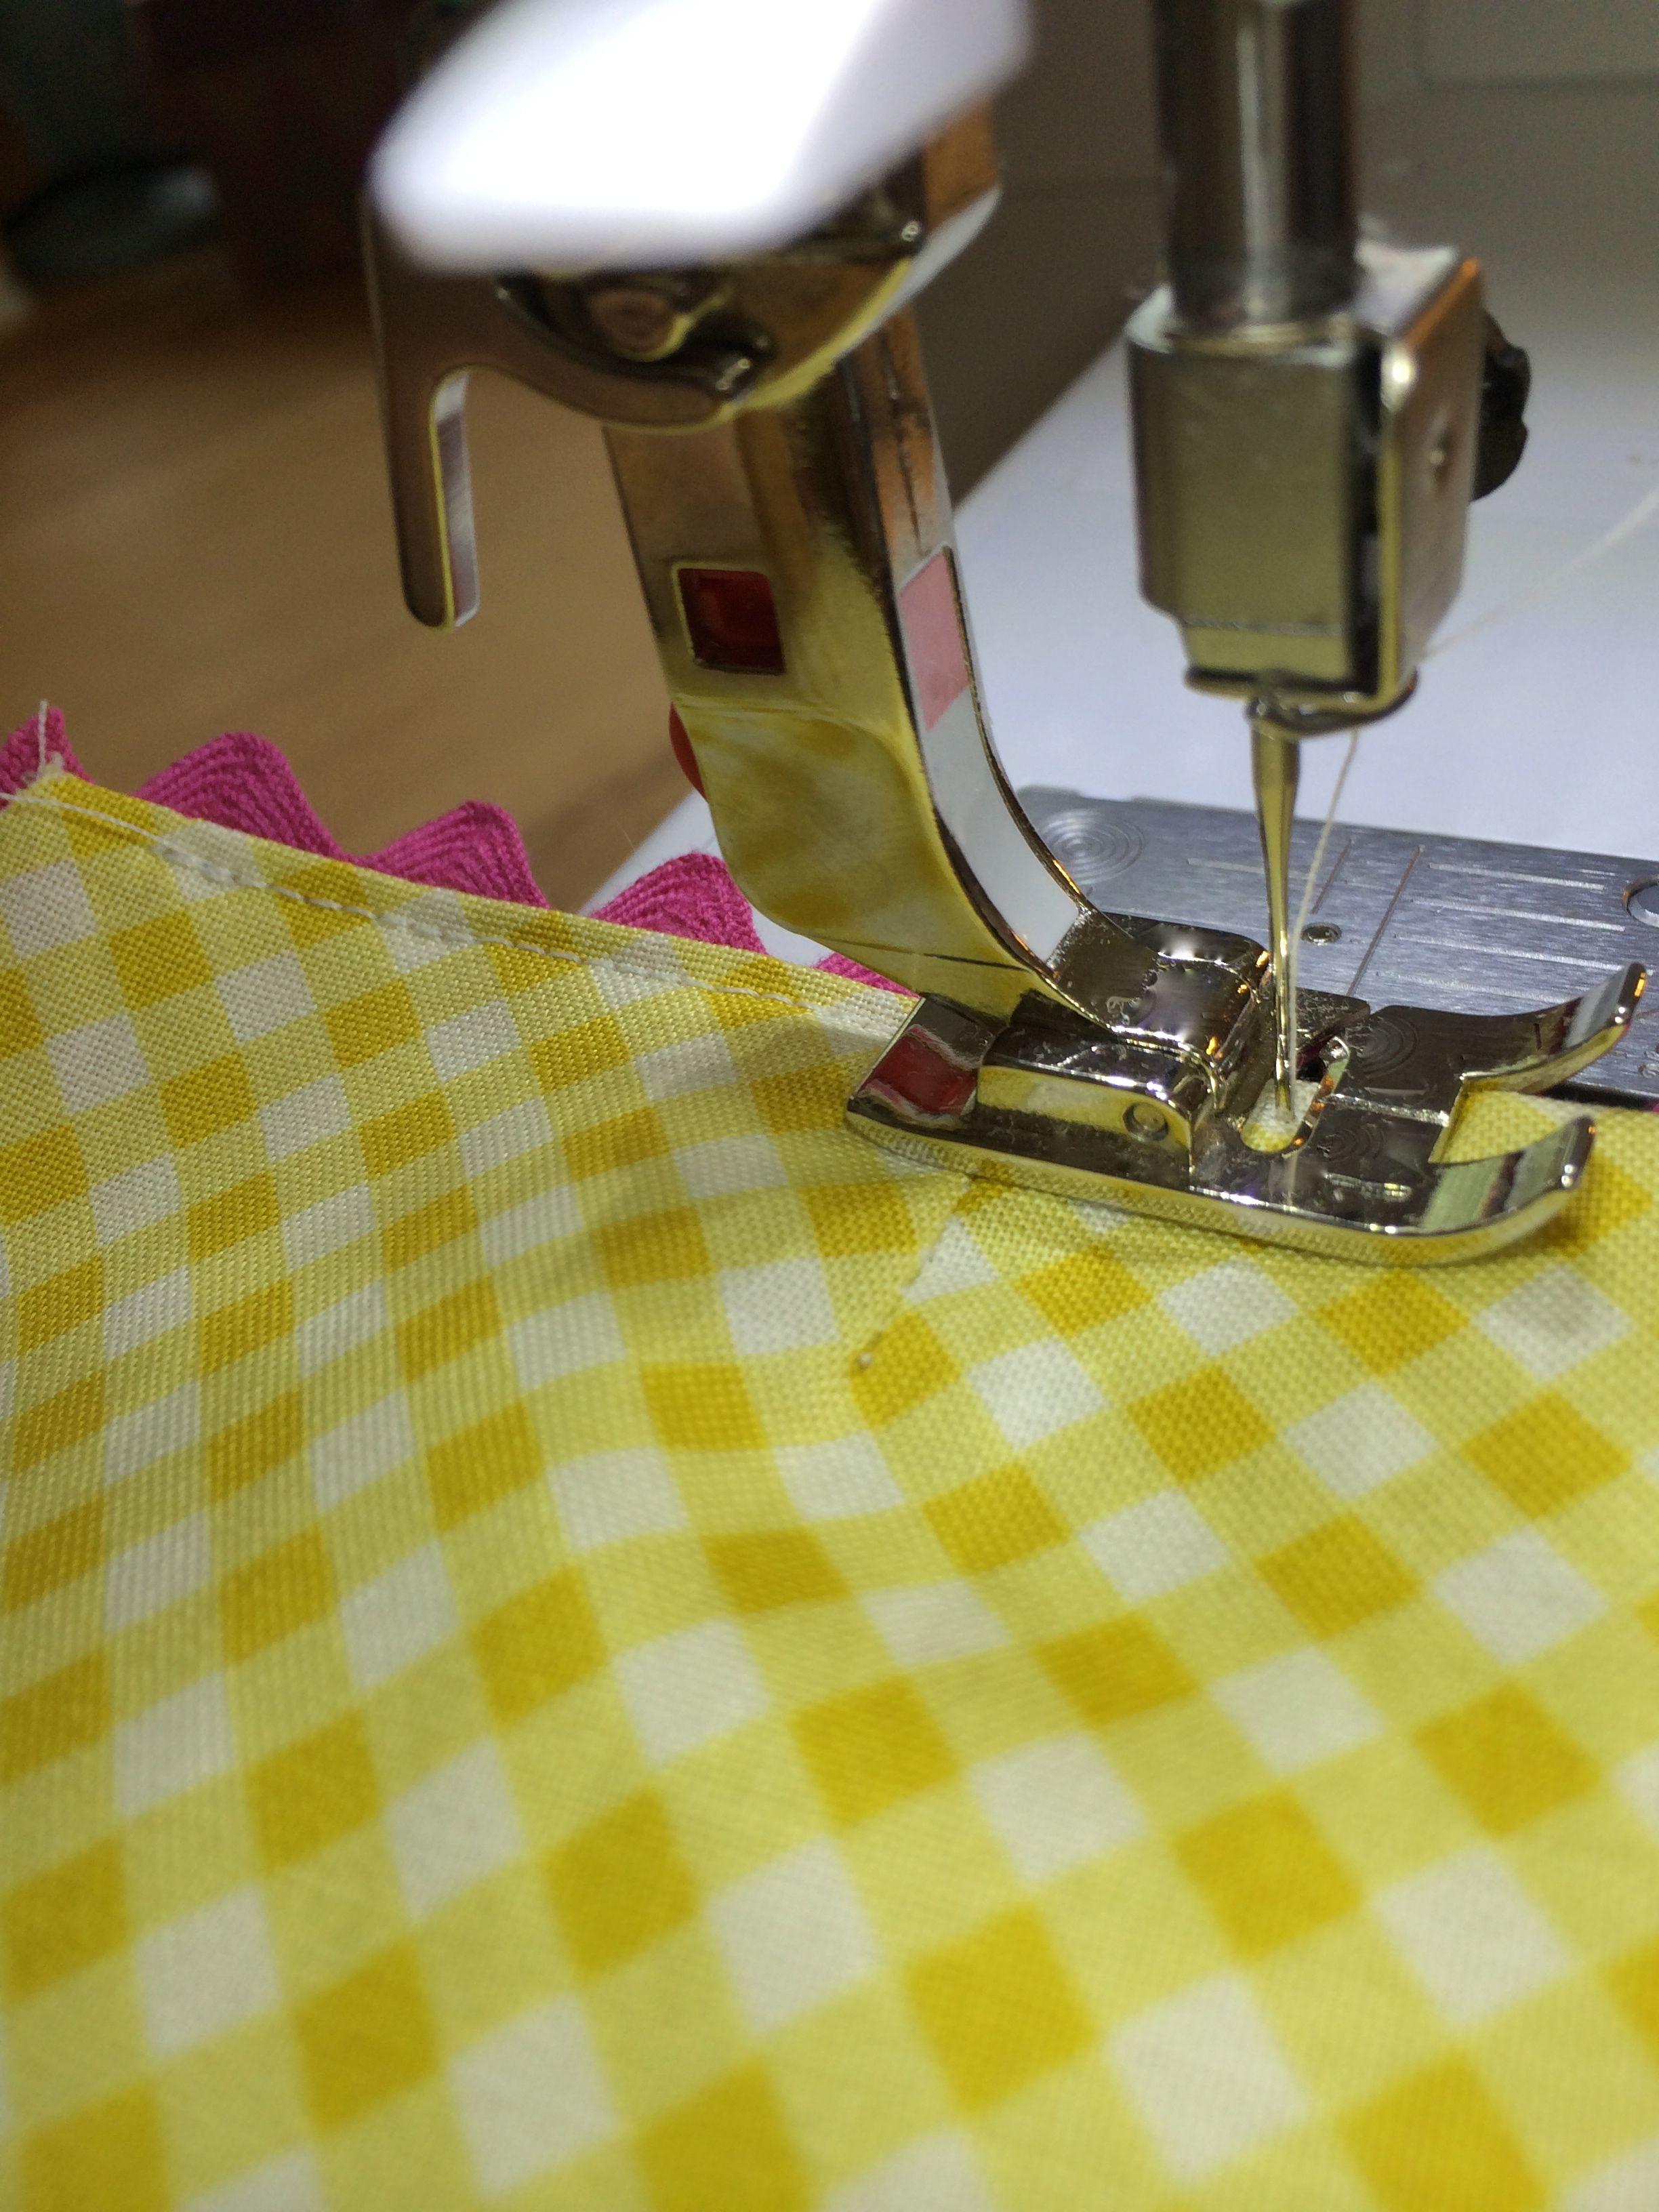
Next you want to fold that edge over and stitch the rick rack down as you go. I recommend using your needle down setting, if you have one. You could fold it over and iron it first, but if your rick rack is not 100% cotton, your iron needs to be at a low temperature or you need a cloth on top, or it will melt and burn. Not good.
It helps to hold the rick rack down as you are sewing. No comments on my nails or nail polish. This is better than my nails often look.
Below is what it looks like done. At the top of this post you can see the finished shorts. Super easy and lots of possibilities!


