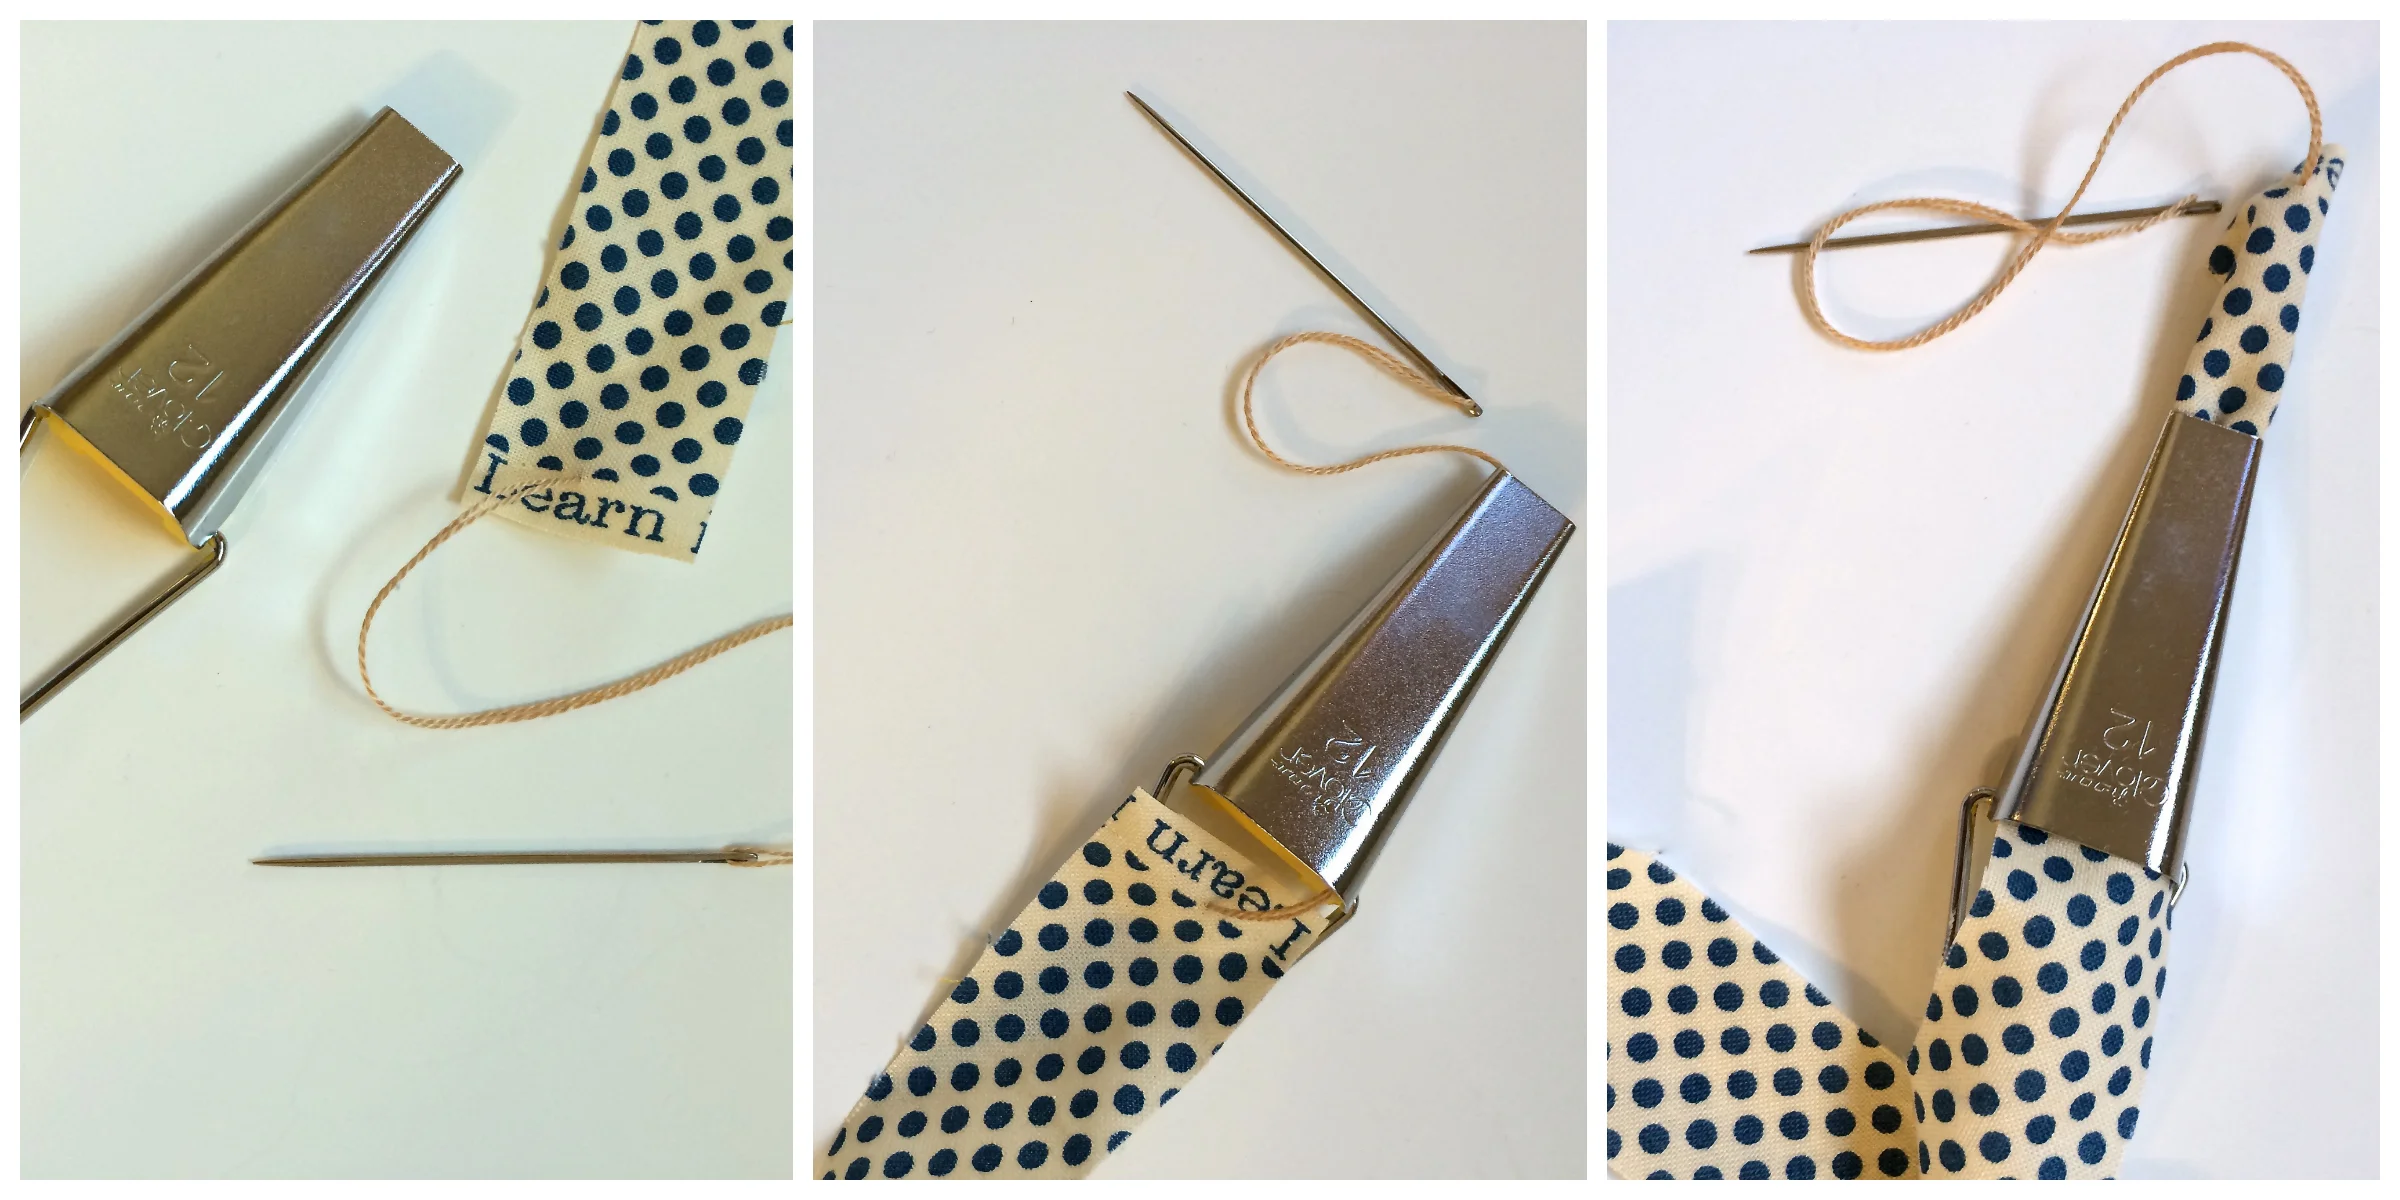
I often make fabric trim for my doll clothing. It gives me the flexibility to create exactly what I need and it's not hard. You just need the right tool. The Clover bias tape maker. They come in a range of sizes. You can buy them individually or as a set. Although I have used all of my set, I use the 1/2 inch most frequently.
Once you have selected your fabric, cut a one inch strip.
Cut a one inch strip. Cut a long strip, then you will have extra trim for later.
The trick to this gadget is getting your fabric through correctly from the start. I have found the easiest way to do this is to use a large needle with a knotted thread attached to the end of your fabric strip. Dangle the needle through the bias maker starting with the wider yellow side and when it appears out the other end, pull it and the fabric will come with it.
The trick to this gadget is getting your fabric through correctly from the start.
Iron your fabric as you pull it through. it works best to do a little at a time. Once you are done, there will be a right side and a side where the edges of the fabric show.
Iron a few inches at a time.
Bias can be used for waist band trim or trim along the bottom of a skirt. I sew the waist band trims on by hand and the skirt trims usually by machine. In another post I will show you tricks to sewing trims on by machine.
I generally sew waist trims on by hand. Most of my dress bodices are lined and sewing by machine through both layers can be tricky and often does not look good. So to avoid problems, I hand sew it, which is usually quick, neater and more accurate.
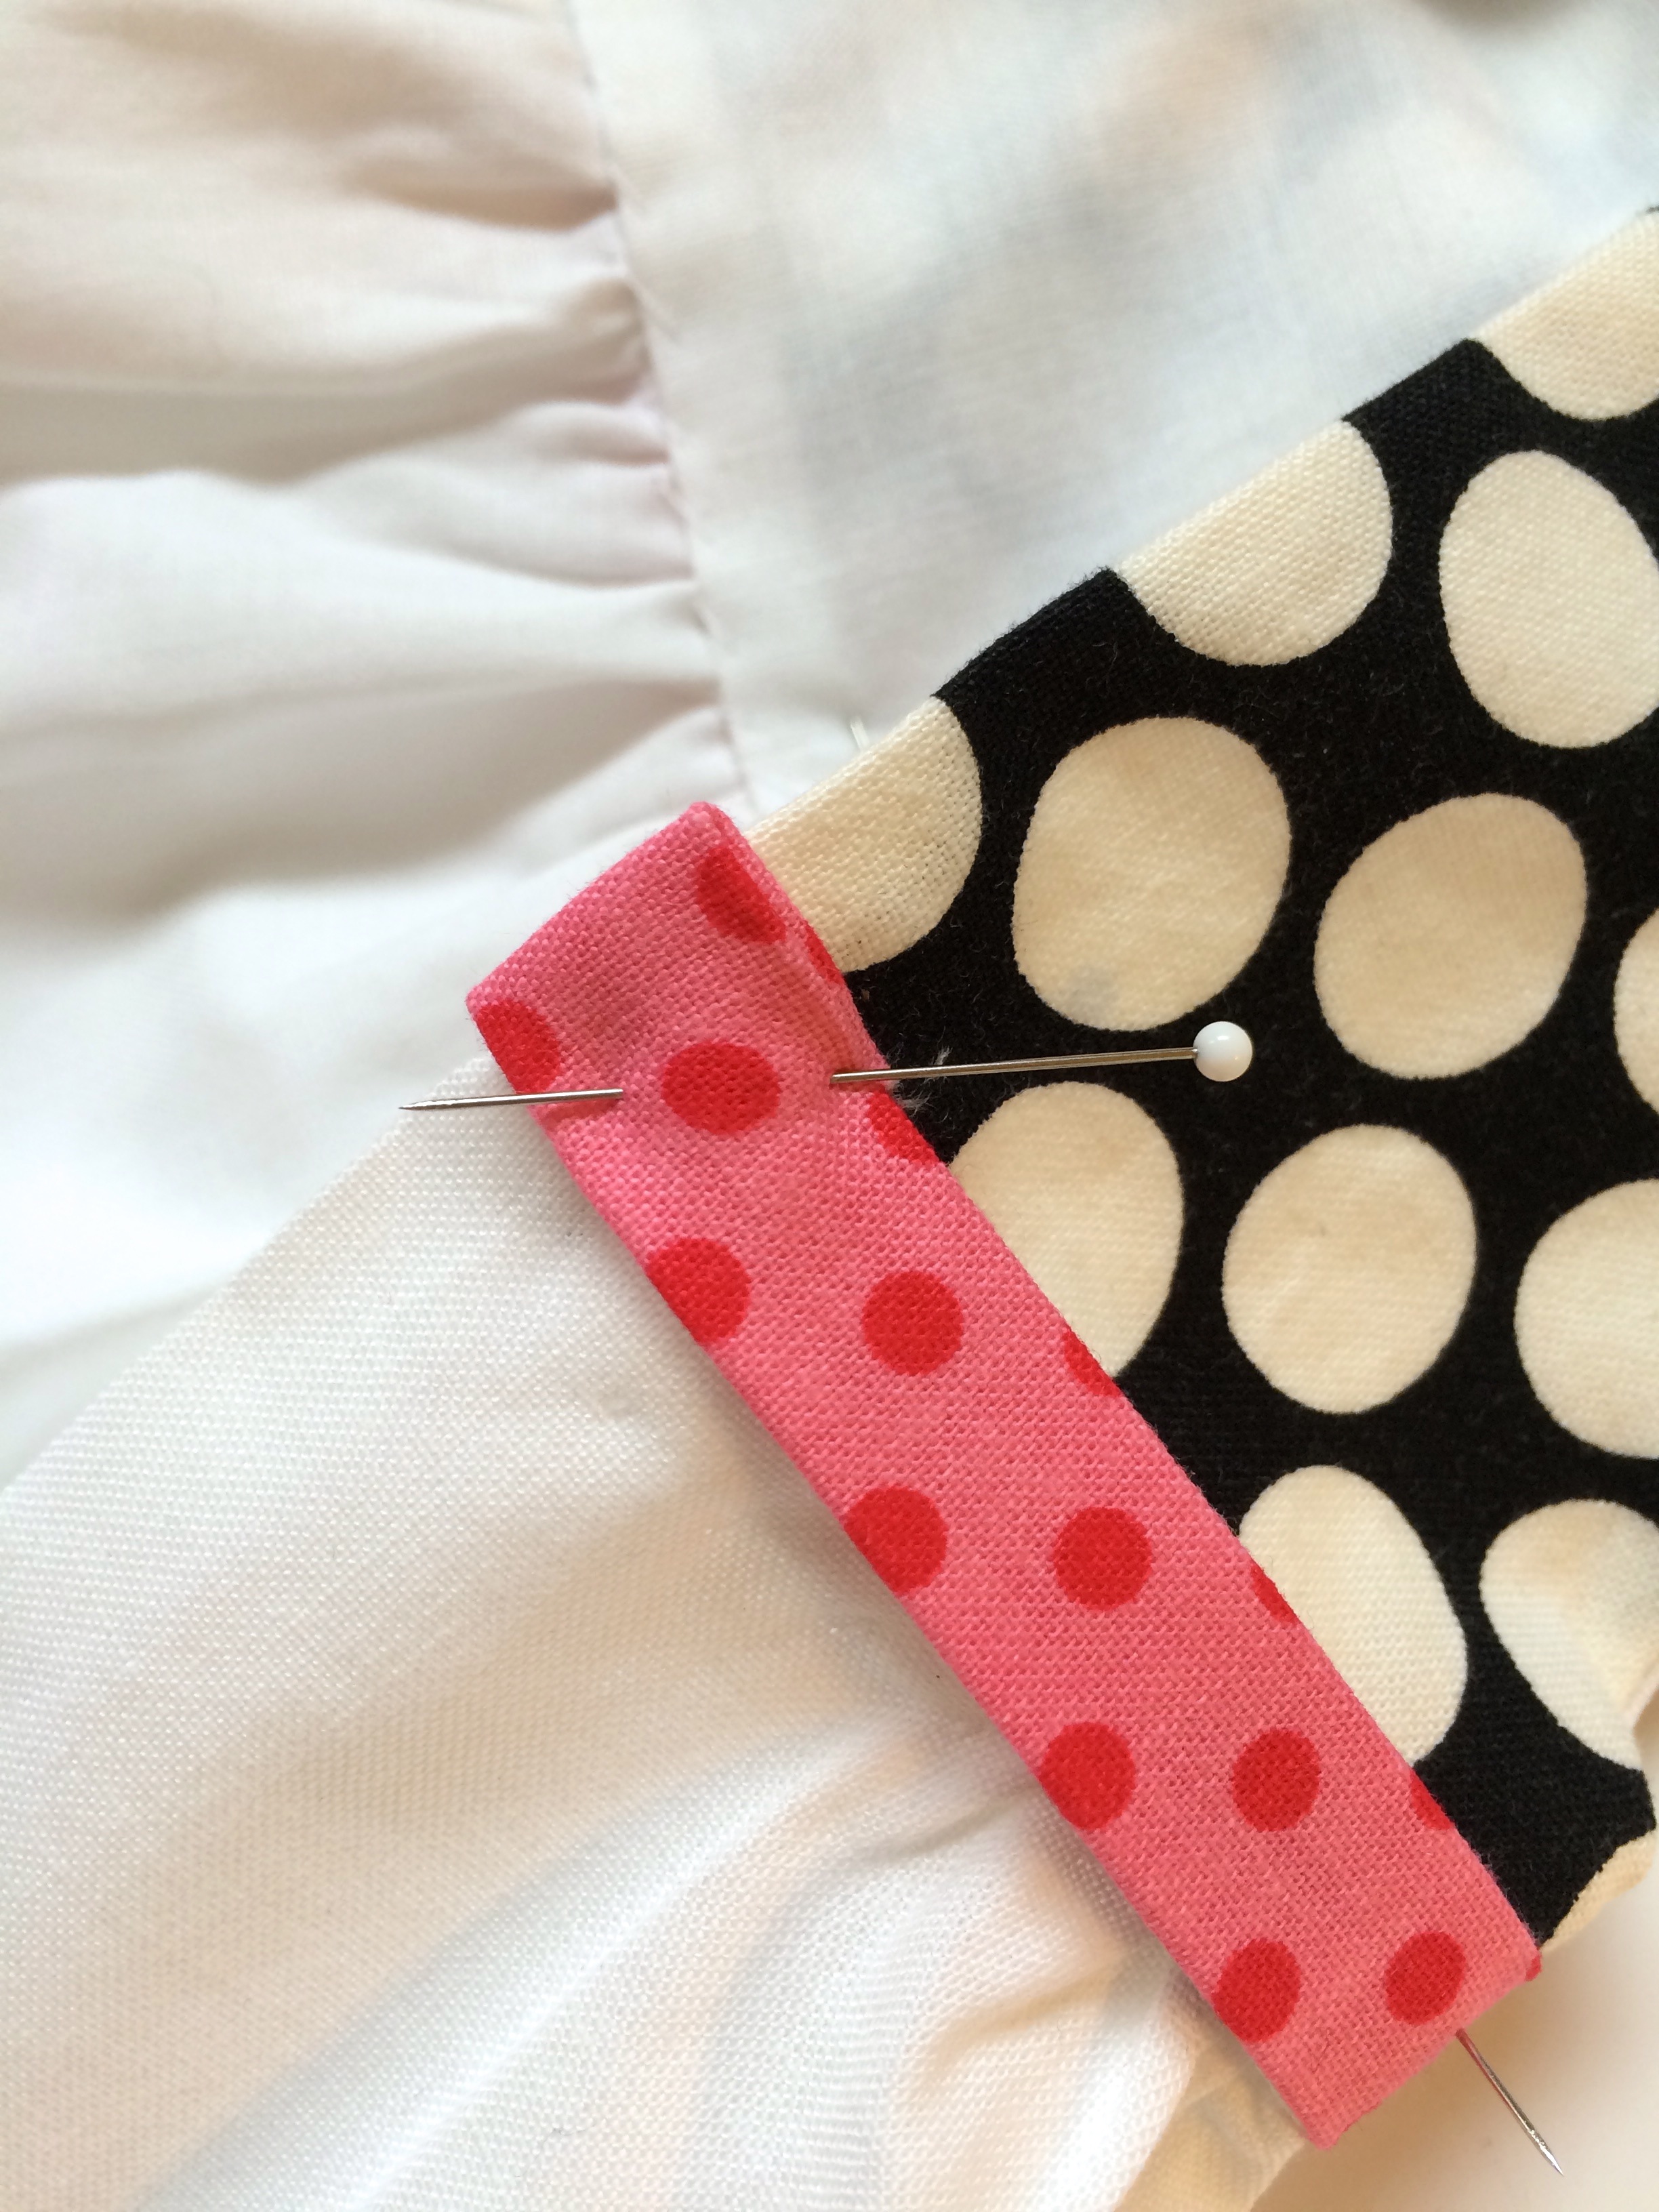
Start by pinning your trim in place. Fold under at least 1/4 inch at the two ends.
How to make Bias Trim for Doll Dresses
I begin with sewing the bottom edge in place. This edge is the one that needs to match up accurately with the top of your skirt, so best to start here. Take small edge stitches. See how very little of the stitching shows inside your dress.
Start on the bottom edge, since that is the edge that needs to be accurately lined up.
Very little will show inside if you sew by hand.
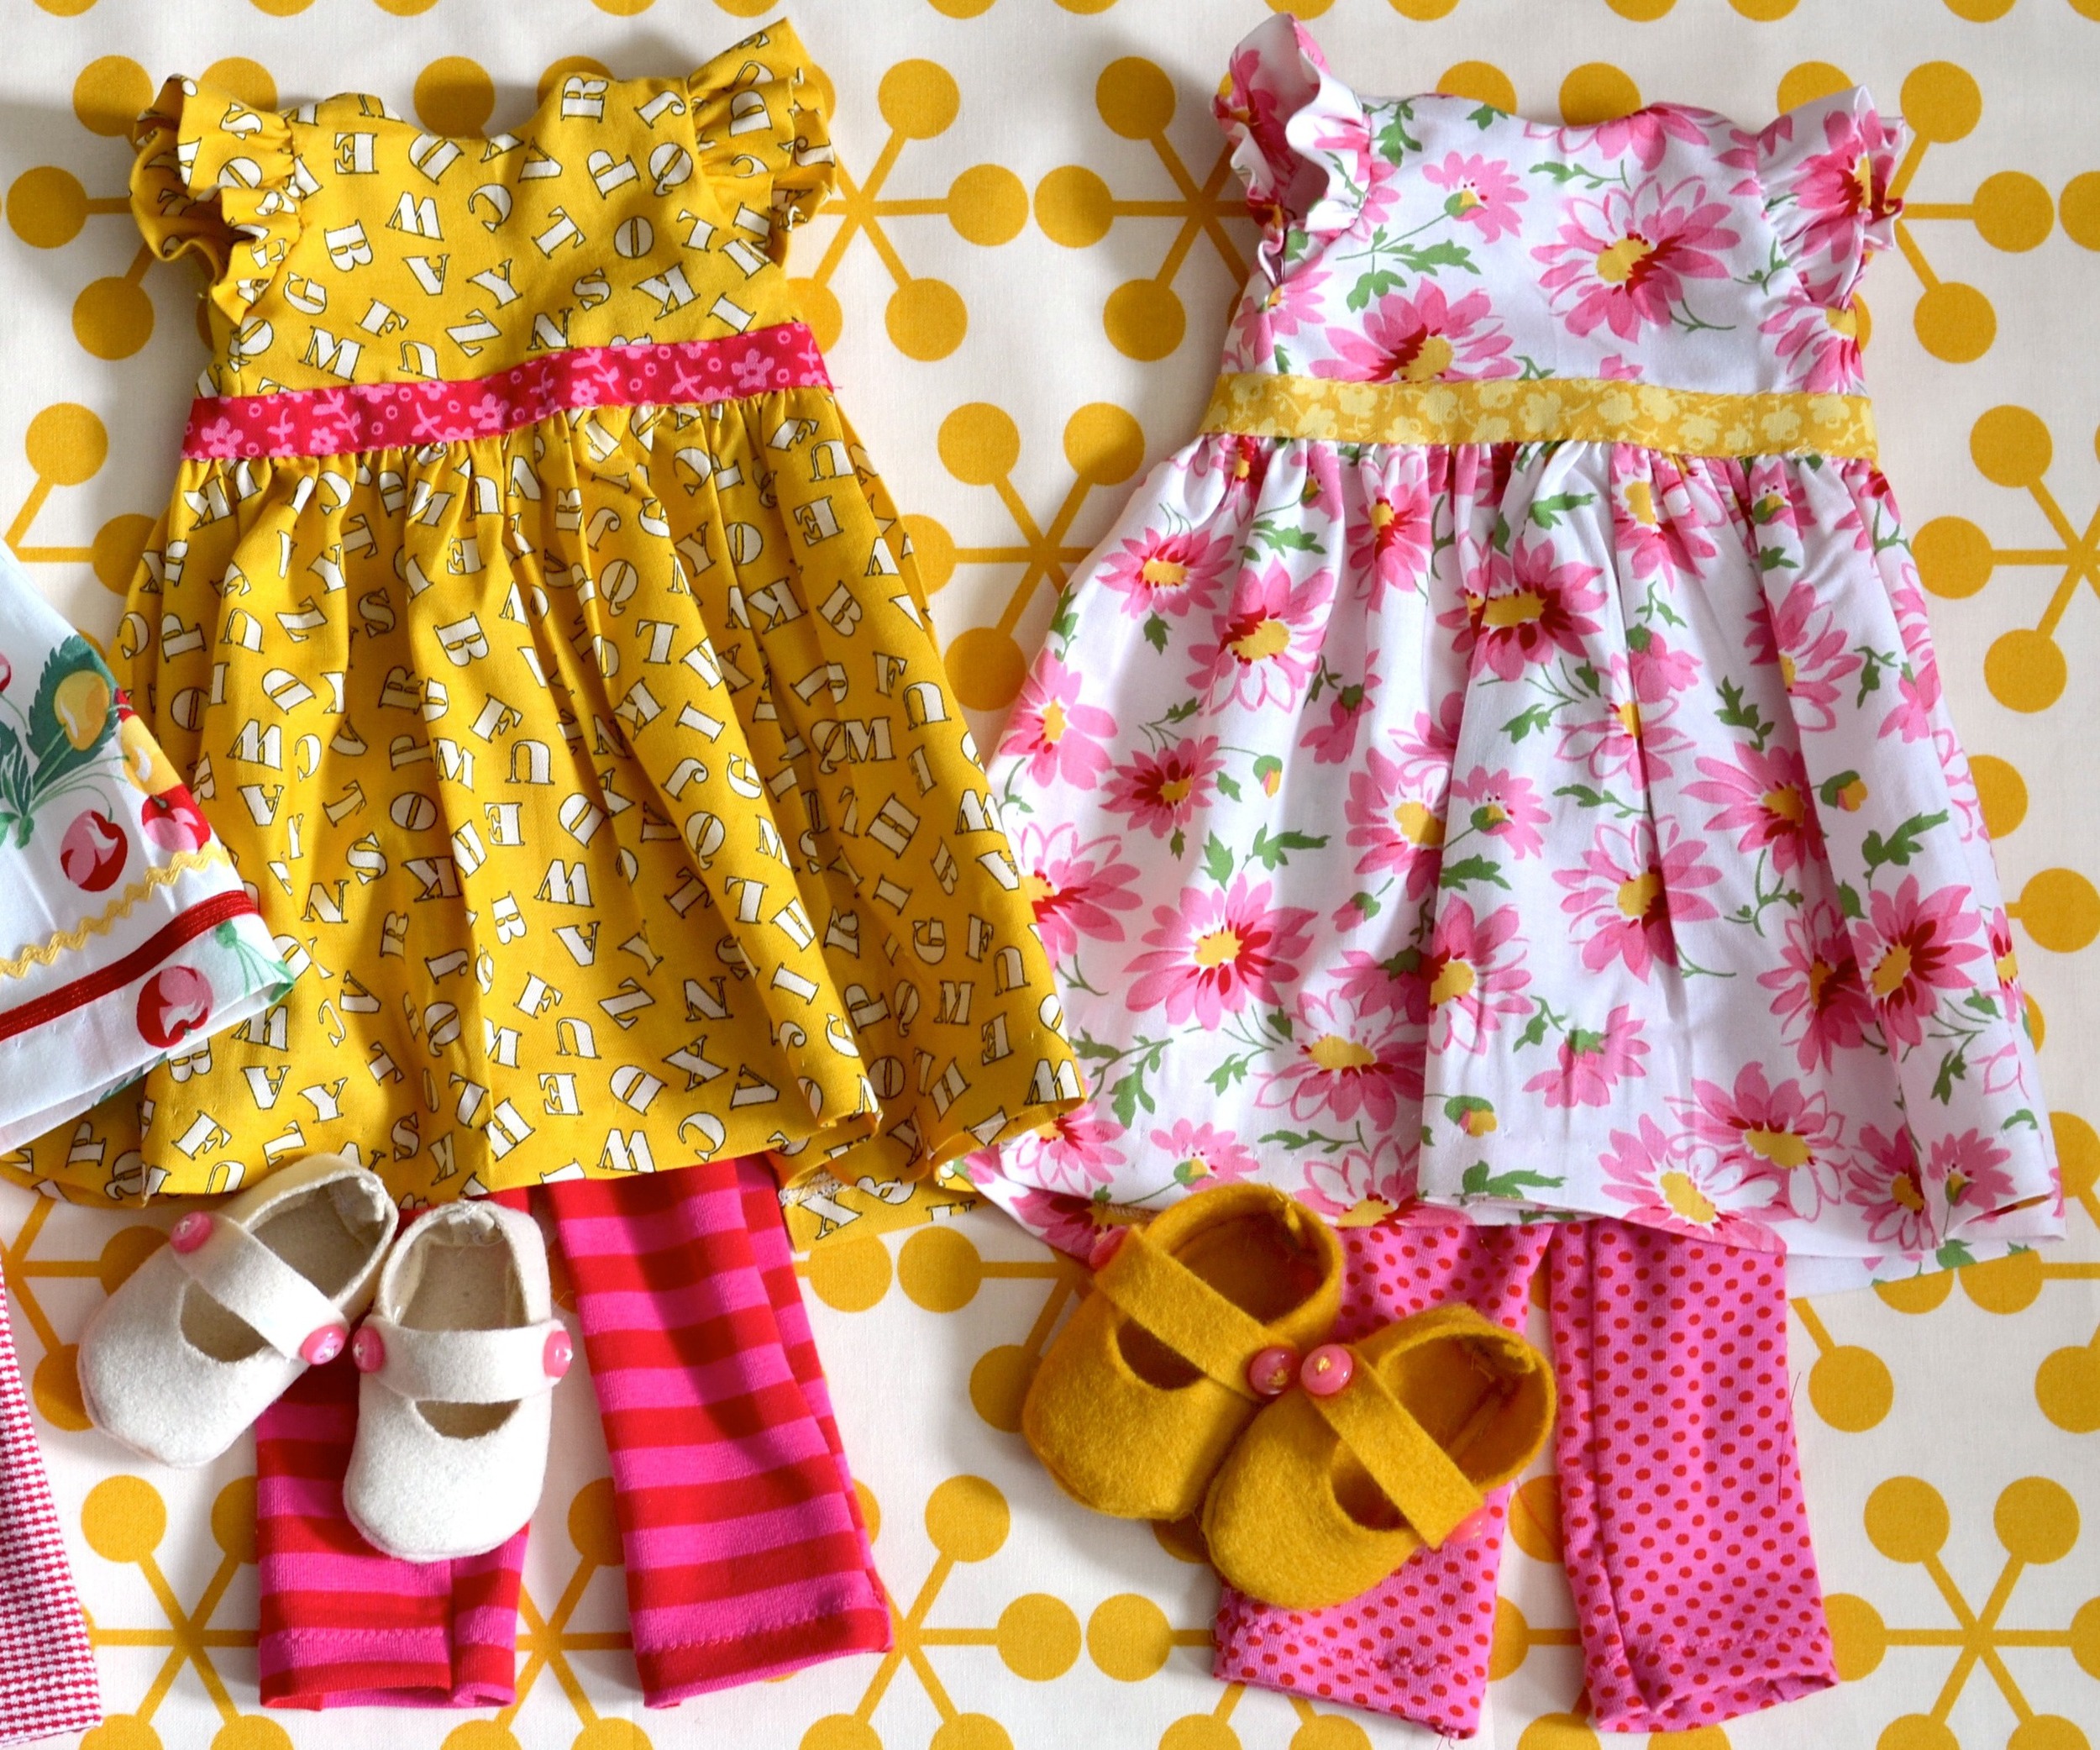
The right waist band can make a simple dress look finished.
Your dress is done! And Save your leftovers. I have a little basket of all my bias trims. If I'm not sure what to add to a dress, I will look here first.
A basket of options.


